Introduction
I hung my vertical radiator in the new lounge while the builder of my extension and his plumber were busy doing other work. They let me do this because I explained my concerns about its weight and agreed to try fixing it by their method. I explained what I planned to do if, when I had hung my vertical radiator by their method, it wasn’t secure.
How It Came To Be That I Had A Vertical Radiator To Mount
In 2016 we had a ground floor extension built on our house. It had a lounge, shower room with WC and an interconnecting lobby.
All the rooms required heating and we always expected to add radiators to our existing system to do that. We put a towel radiator in the shower room and the smallest double panel radiator in the lobby.
The lounge is 4.2m (13ft 8ins) by 3.5m (11ft 7ins) and required a more substantial radiator. The following article refers to that radiator and the difficulty I encountered hanging it on the wall.
The Radiator We Chose & Where We Put It
Three of the walls in this new lounge could have traditional landscape oriented flat panel radiators on them. One large double panel radiator could have been mounted behind one of two sofas, or two double panel radiators could have been mounted on small areas of open wall.
There was a narrow section of internal wall between a door and a window. My wife asked, “Could we have one of those vertical radiators that we see in magazines and house improvement programs on TV?”
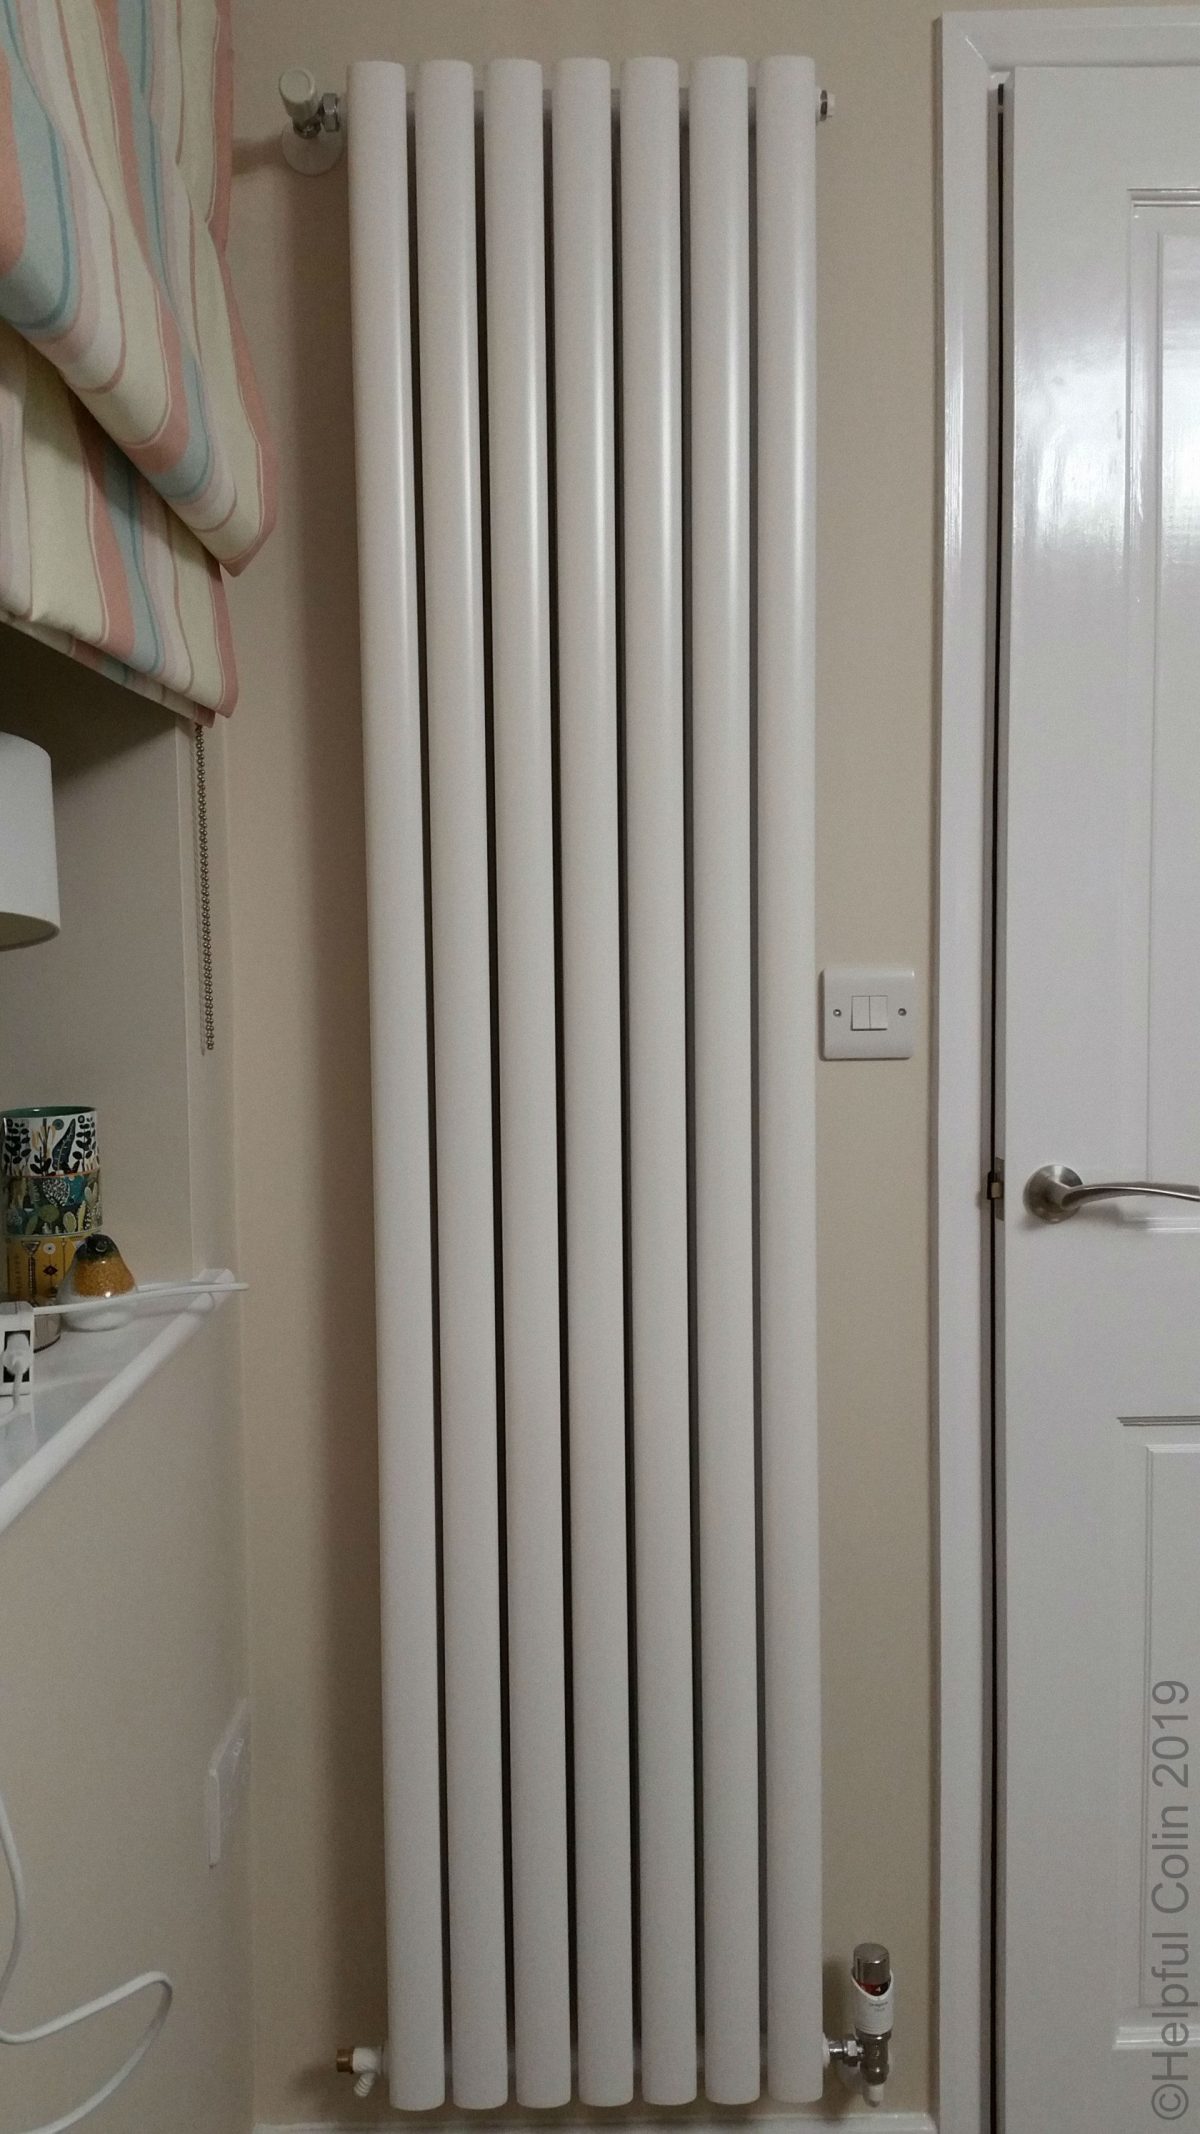
This was a great idea. When I looked into it I found suitable radiators could be obtained that would fit well in the space and hopefully give out enough heat. Below you can see the radiator we chose in our desired location.
Pic. 1. I Hung My Vertical Radiator So It Looked Like This

Why This Particular Location?
There were other locations in the room where I could have hung my vertical radiator so it might better give out its energy by not being in a corner, but for various practical reasons this corner was a good place.
The positioning issues are listed below:
- The space on the wall would not be used otherwise;
- It wasn’t going to be in the way of any planned furniture;
- It was nearly under the apex of the roof giving good access for a plumber to provide pipework from above;
- Other possible locations had no access above the ceiling due to the presence of the roof’s eaves;
- The only other place would have been on the feature wall where it would be far from discreet.
Acquiring A Vertical Radiator
I investigated a variety of radiator vendors on the internet and found some are very expensive. I also found there are single and duplex (double sided) ones as with traditional flat panel types.
Each supplier had one or two different styles in a few sizes. So size, to some degree, determined the style and cost.
Description of My Vertical Radiator
I found the right one at Screwfix – an Ximax Fortuna Duplex Designer Radiator with a heat output of 4378BTU (1284W). It has an overall size (h × w × d) of 1,800mm × 410mm × 80mm. It is duplex with seven vertical oval tubes on both the front & back. Each tube is 1,800mm × 50mm × 25mm. The oval tubes are welded to two horizontal cylindrical tubes near the top and bottom which feed them with water through holes bored through the centres of the welded areas. Each horizontal tube is 410mm long × 30mm dia..
Handling The Radiator
When it arrived I soon discovered how heavy the radiator is. It required two people to carry it. The cardboard box was hardly capable of containing it. By that I mean the radiator had to be held through the cardboard. It felt as if picking up the cardboard box by itself would let the radiator rip through the box and fall out.
I immediately realised that full of water it will probably weigh at least one cwt (that’s a hundred weight (112lbs) – a twentieth of an old ton.) That’s in excess of 50kg. So the mountings, and the wall it’s mounted on, need to be very substantial.
Lifting The Radiator Up and Onto Its Brackets
With one end resting on the floor I could lift the other until it was vertical. I could just man-handle it enough on my own with it in a vertical attitude, but I had to stand on a kitchen step to lift it to the required height when I needed to offer it up to the wall:
- to show others how it looked;
- to hang it on the two top brackets several times while levelling them initially and again when I re-fixed the brackets to a satisfactory standard;
- again after the bottom brackets were mounted;
- and failed to hang it on all brackets at once because I needed a rest from bearing the weight before retrying.
The latter item was quite an issue, i.e. trying to get all radiator straps hooked onto their brackets at once. It’s in the same category as lifting doors or gates onto hinge pegs where top and bottom need to connect simultaneously. Except when I hung my vertical radiator I couldn’t see the brackets or straps very well between the tubes. The straps are hooked on by use of imagination and feeling the way they touch the brackets.
The difficulty I had when I hung my vertical radiator was in the same category as hanging wall clocks and pictures on a nail or hook. Its excessive weight just exacerbated the problem.
Mounting The Brackets On The Wall
The radiator had four steel straps welded to the back of the tubes. These straps hook onto brackets bolted to the wall. So You might think fixing would be straight forward. Well it was far from that.
The top two straps are level but the bottom two are staggered (one higher than the other). I am not sure why, but if this radiator had a baffle in it (used when flow and return are both connected to the bottom) I wouldn’t want to mount it upside down. So having staggered fixings helps prevent that.
My builder and plumber couldn’t see a fixing problem and just recommended drilling and plugging the wall, with the plugs provided, and bolting the brackets firmly to it.
The diagram below of a Right Hand Vertical Radiator Bracket may not be accurate since I took its measurements with the radiator fixed in place. Only I have designated it as Right Hand because I mounted it on the right side of the radiator. The Left Hand bracket is a mirror image of this one.
Fig. 1. A Right-hand Vertical Radiator Bracket

Below is a picture of a bracket deployed on the wall with the radiator hanging on it.
Pic. 2. The Radiator Hanging on Cushioned Brackets

These were the two main requirements as I saw them:
- Each bracket needed to be mounted in exactly the correct position so that the weight was equally shared by the four of them.
- The brackets would need to be very tight to the wall so that the the fixing screws didn’t bend or the brackets twist or sag.
The wall was made of building blocks with plasterboard/wallboard stuck to it. This left a gap between the wallboard and the blocks. That meant that when the bolts were tightened the wallboard would be dented by pulling it in towards the blocks. I expected this would crack the plaster within the wallboard. Further, the high torque used to tighten the coach screws would completely crush the wallboard. That would leave the brackets mounted on two thin layers of cardboard with unstable plaster powder in between. I felt that without that pressure the screws would bend or sag in their holes and let the brackets drop out of position.
How Others Fix A Vertical Radiator
I came across this video from Trade Radiators. It shows a regular plumber fixing a vertical radiator on the wall. It’s not the same as mine and it looks like it has better brackets, i.e. the weight is taken between the two screws of each bracket so it doesn’t try to turn it.
The points to note are:
- how heavy he finds the radiator;
- the wall is solid and plastered, i.e. there is no wallboard;
- he explains how a baffle is used to direct water to the top of the radiator when the flow and return are connected to the bottom of the radiator.
How The Builder & Plumber Saw It
I wasn’t happy to just hang it in a simple way, like this, but I had to bow to the builder and plumber’s years of experience. (Not experience of this type of radiator I might add.) And with that they agreed to let me hang the radiator while they got on with other work.
So I very carefully marked out the holes to be drilled on the wall and drilled them. As you can see from the diagram each bracket had two holes. Each came with a 2½” (65mm) coach screw and a 2½” No. 12 round-head screw.
I put the coach screws in the top holes and the round-head screws in the bottom holes. The coach screws bore the weight and the round-head screws stopped the brackets twisting. They were inclined to twist because the radiator’s weight bore down to one side of the screws. (See drawing.)
Unfortunately some of the coach screws kept turning as I tightened them because the wall plugs provided didn’t grip the holes in the blocks. Maybe I drilled them too large in diameter. That meant they didn’t pull the wallboard tight against the blocks and so the bracket was away from the block wall. I demonstrated how hanging the radiator on the brackets made them droop under the weight because the screws sagged.
When I Hung My Vertical Radiator I Had A Problem to Resolve
I was really concerned that the radiator might break away from the wall after the work was done and burst the pipes causing a very bad flood as well as other damage. So I wanted to do all I could to prevent such a disaster.
This is a list of things I did to resolve the problem:
- get 8 × 100mm (4″) coach screws and heavy duty wall-plugs for all the holes to replace those provided;
- cut out 4 rectangles in the wallboard that were a little larger than the brackets;
- re-drill the holes and glue in the new wall-plugs with filler;
- a single plug was too short so I cut another down to size to fill the rest of the hole (see the drawing below);
- clean debris off the surface of the blocks that I could see when looking through the holes in the wallboard so that the polyester filler would stick;
- place plastic* drinking straws in the wall-plug holes so I knew where the holes were after applying the polyester filler;
- fill the rectangular holes with Isopon P38 polyester filler, making it adhere to the blocks, working it around the straws and under the wallboard, and finishing it flush with the surface of the wallboard;
- when the filler set I withdrew the straws, sanded it flush with the wallboard, and enlarged the holes in the polyester filler to the diameter of the coach screws.
* I used plastic straws because polyester filler doesn’t stick to them easily. Then I was able to pull the straws out when the filler had set.
My Fixing Method
I fixed the brackets to the wall with the long coach screws (see the drawing below) and used a spirit level across the top two to check if they were level. I tapped the higher one down a little when it was nearly tight, then tightened it.
Fig. 2. A Section Through The Wall Showing How I Hung My Vertical Radiator

Dealing with the bottom two brackets was just trial and error because of their different heights. I knew that it was likely that all the weight would end up on the top brackets unless they gave a bit.
I deployed the cushions at this trial and error stage. It was very difficult to manhandle the radiator onto the brackets due to its weight and inertia. I had to stand on a kitchen step to lift it high enough. Consequently I damaged one of the cushions in the process. So I had to search the internet for replacements. The first ones I got, off eBay, were much too small (dimensions weren’t given) and I had to look again.
Finally I had success with four brackets where I wanted them and eight tight – very tight – coach screws holding them.
The builder and plumber gave it their approval and the plumber got on with plumbing it in. The hot water feed is at the top left, via a regulator valve, and a thermostatic valve is on the outlet at the bottom right. And there it sits to this day doing a fair job and NOT giving way to gravity.
NOTE: I used a Drayton TRV4 Thermostatic Valve which has to be adjusted for the direction of water flow when fitted to the output of a radiator. They are normally set up in manufacture for fitting to the input of radiators where the water flows in the opposite direction.
Does My Vertical Radiator Have Enough Heat Output
I have to bear in mind that this radiator is not only the most hungry on the system it’s the furthest one on the run from the boiler. So the regulator valve is open a long way so that it gets hot as quick as the other radiators on the system.
The 10kw Malvern boiler powering the system just manages to serve these additional radiators adequately. It’s good that I haven’t had to increase the boiler size to accommodate the extension.
In practice when we are in the new lounge we often have the door to the original lounge open allowing a free flow of air between the two rooms. The powerful radiators in the original lounge supply heat to the new room when the door is open. The door to the kitchen is often open too so all three rooms have their temperature averaged out.
Leave a Reply