Retractable Clothes Washing Line

Retractable Clothes Washing Line Repair

Introduction

What is a retractable clothes washing line? Find out here.

Generally I have found retractable clothes washing lines very useful. They mainly keep the line clean so that it doesn’t dirty the washing pegged out on it.

My problem has been breakage. I have had them break because they are not capable of taking the weight of heavy washing and due to damage.

The line itself can usually take a lot of weight but the plastic boxes containing and mechanism have failed. In one case I had mounted the box too near to an outward opening door. Then the wind blew it on its pivot flat against the house wall. Later I opened the door which crunched into the box, in its new position, and cracked the plastic.

My Past Experience With A Retractable Clothes Washing Line

I’ve used a retractable clothes washing line for many years but my original one, from B&Q, came to the end of it’s life in 2015. The parts which tensioned the line had broken halfway through its life. I fixed it by tying a loop in the line so it could be hung over an adjacent hook. Surprisingly the bulk of the loop didn’t get in the way when it was allowed to coil up.

This original line could be removed from its support post in the winter by lifting it off its bracket. This was a good feature I required in any replacement. So when I couldn’t replace it with the exact same model I took a good look at what was available online before I settled on one. Here is Google’s selection.

My Current Experience With A Retractable Clothes Washing Line

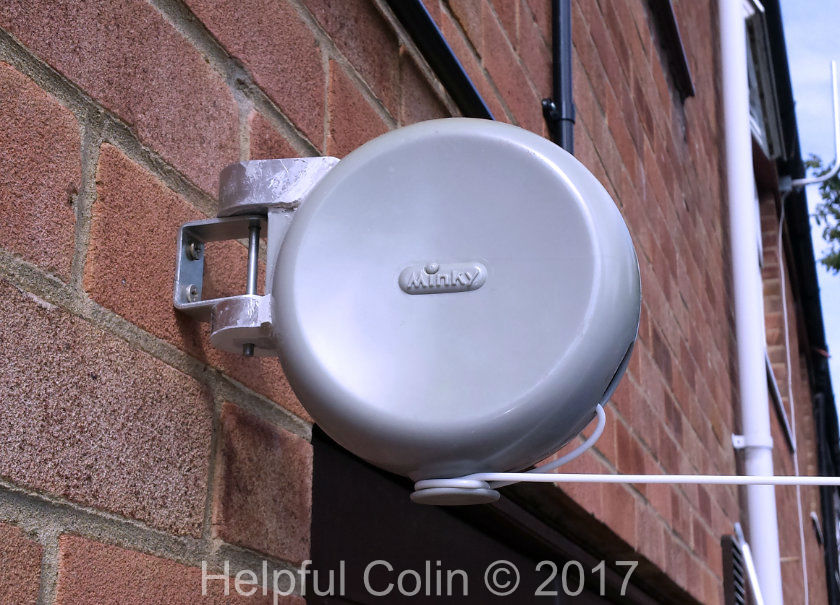
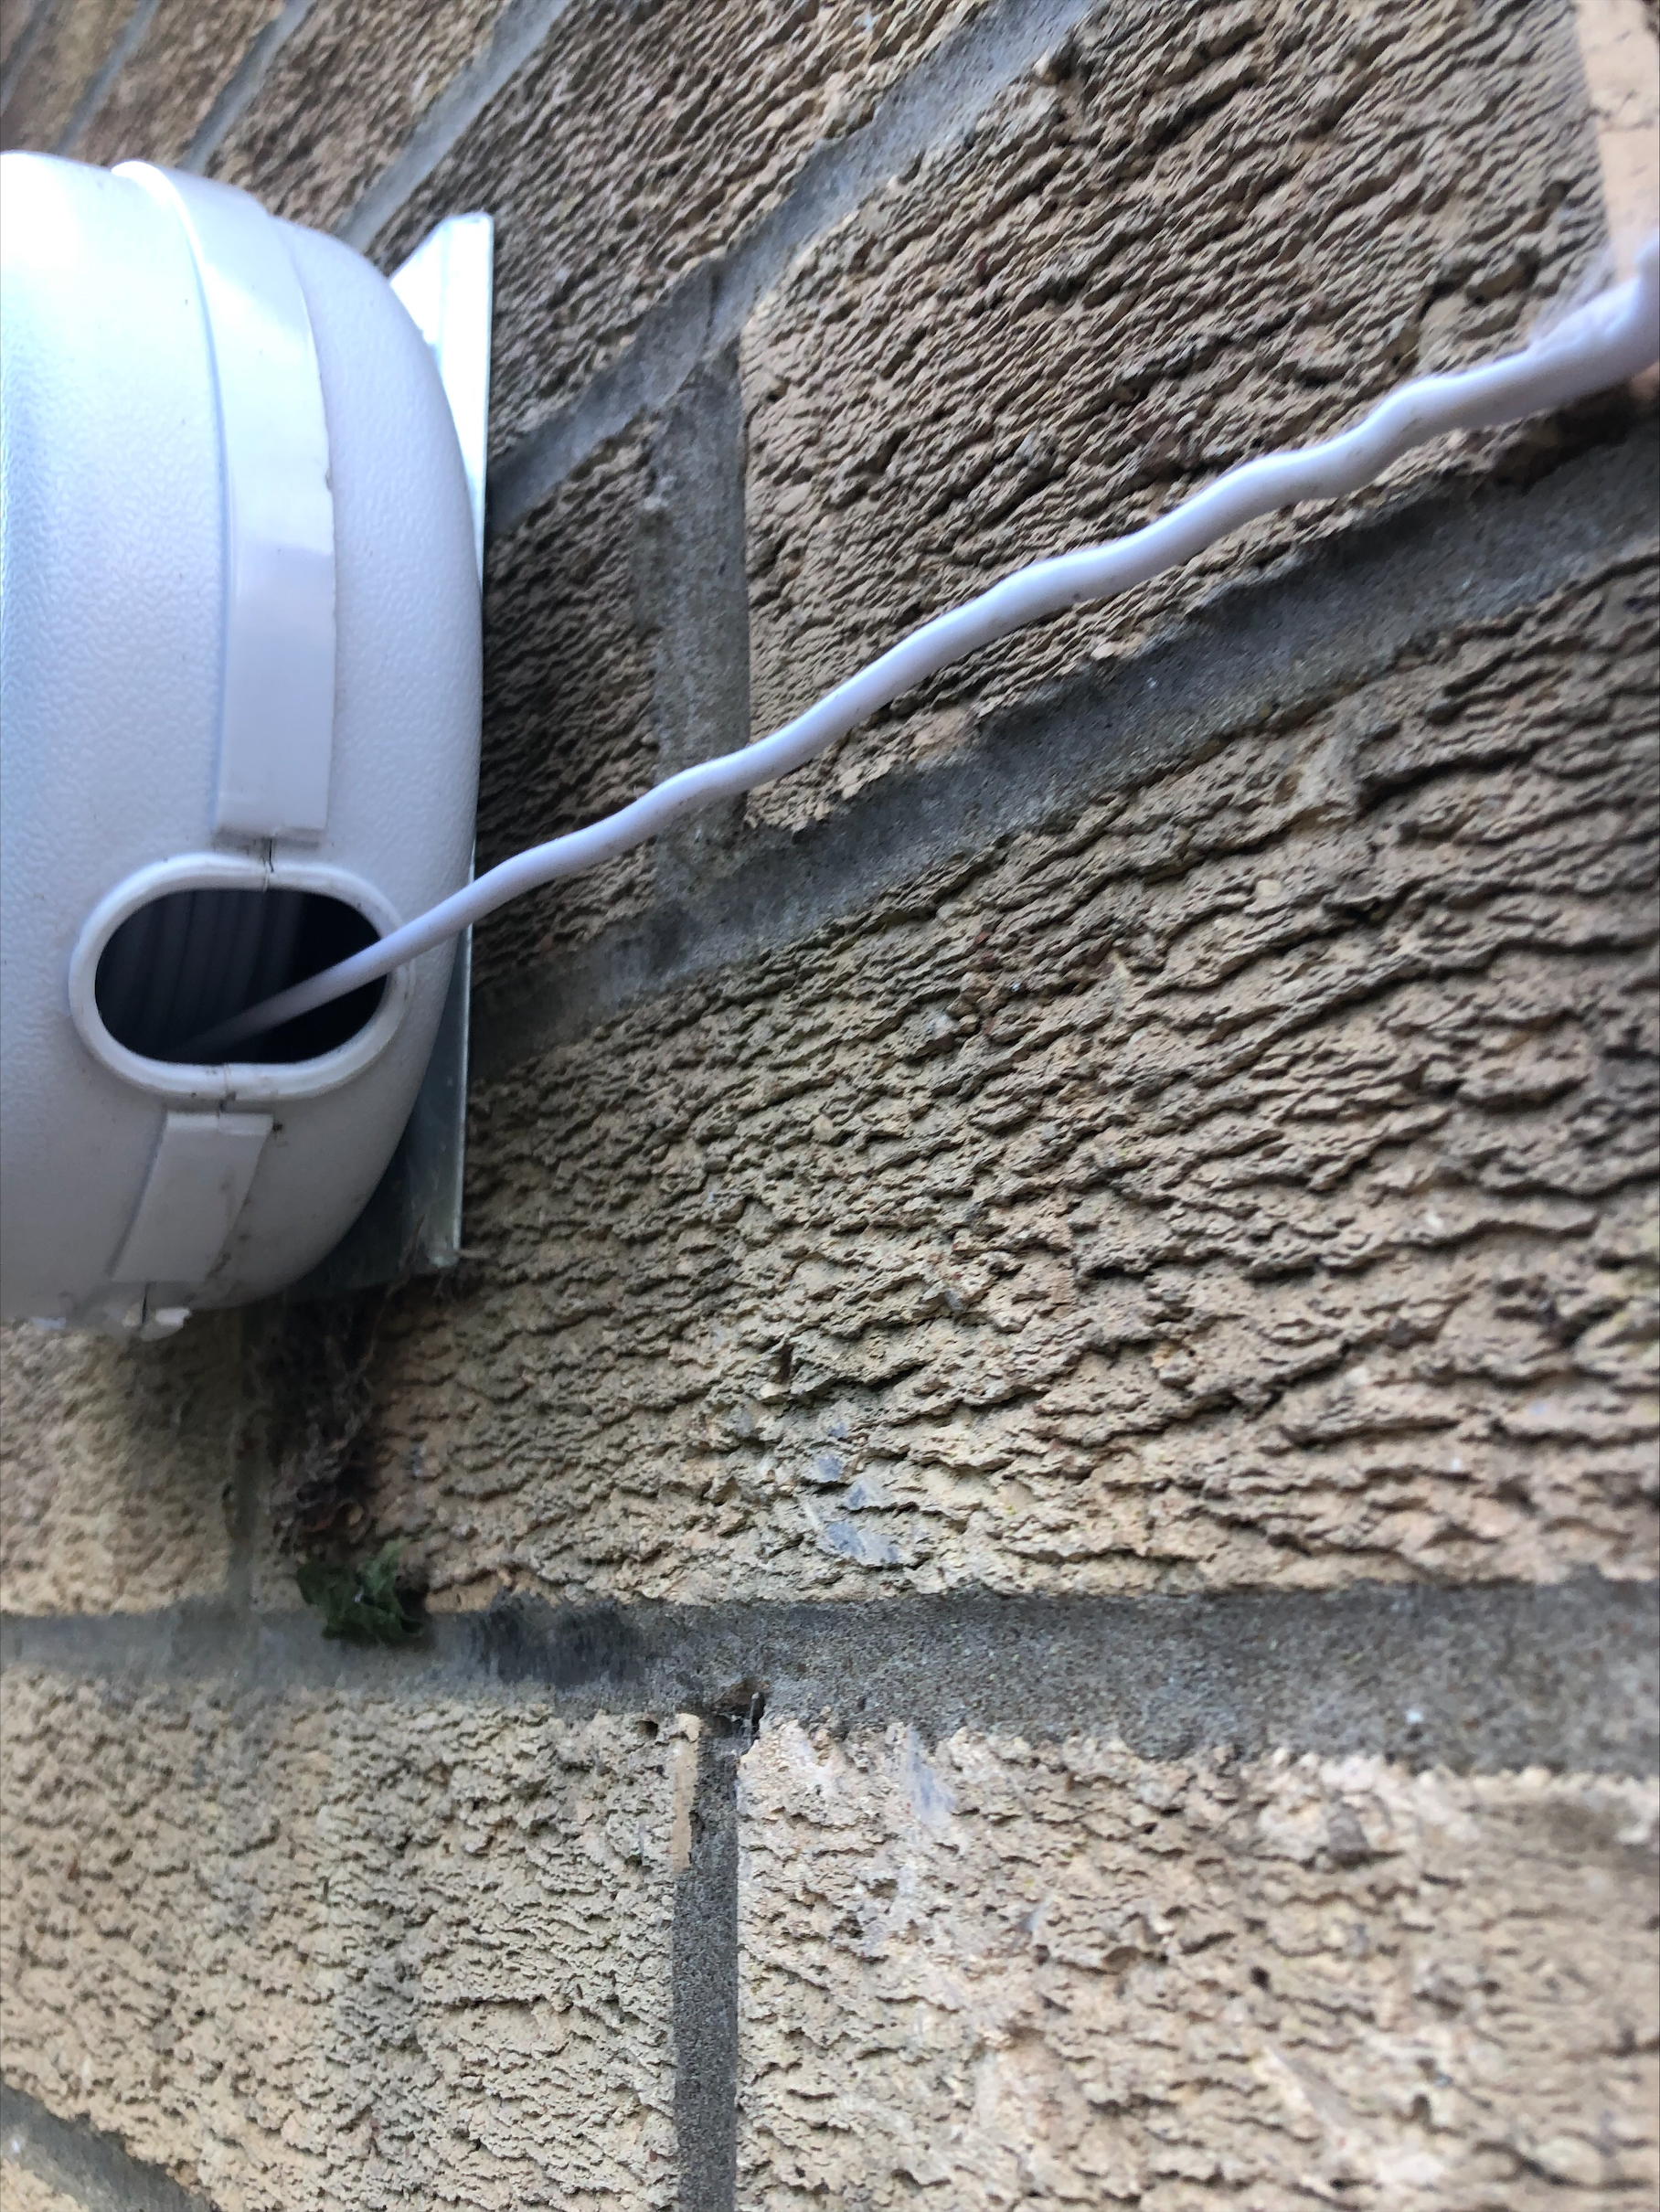
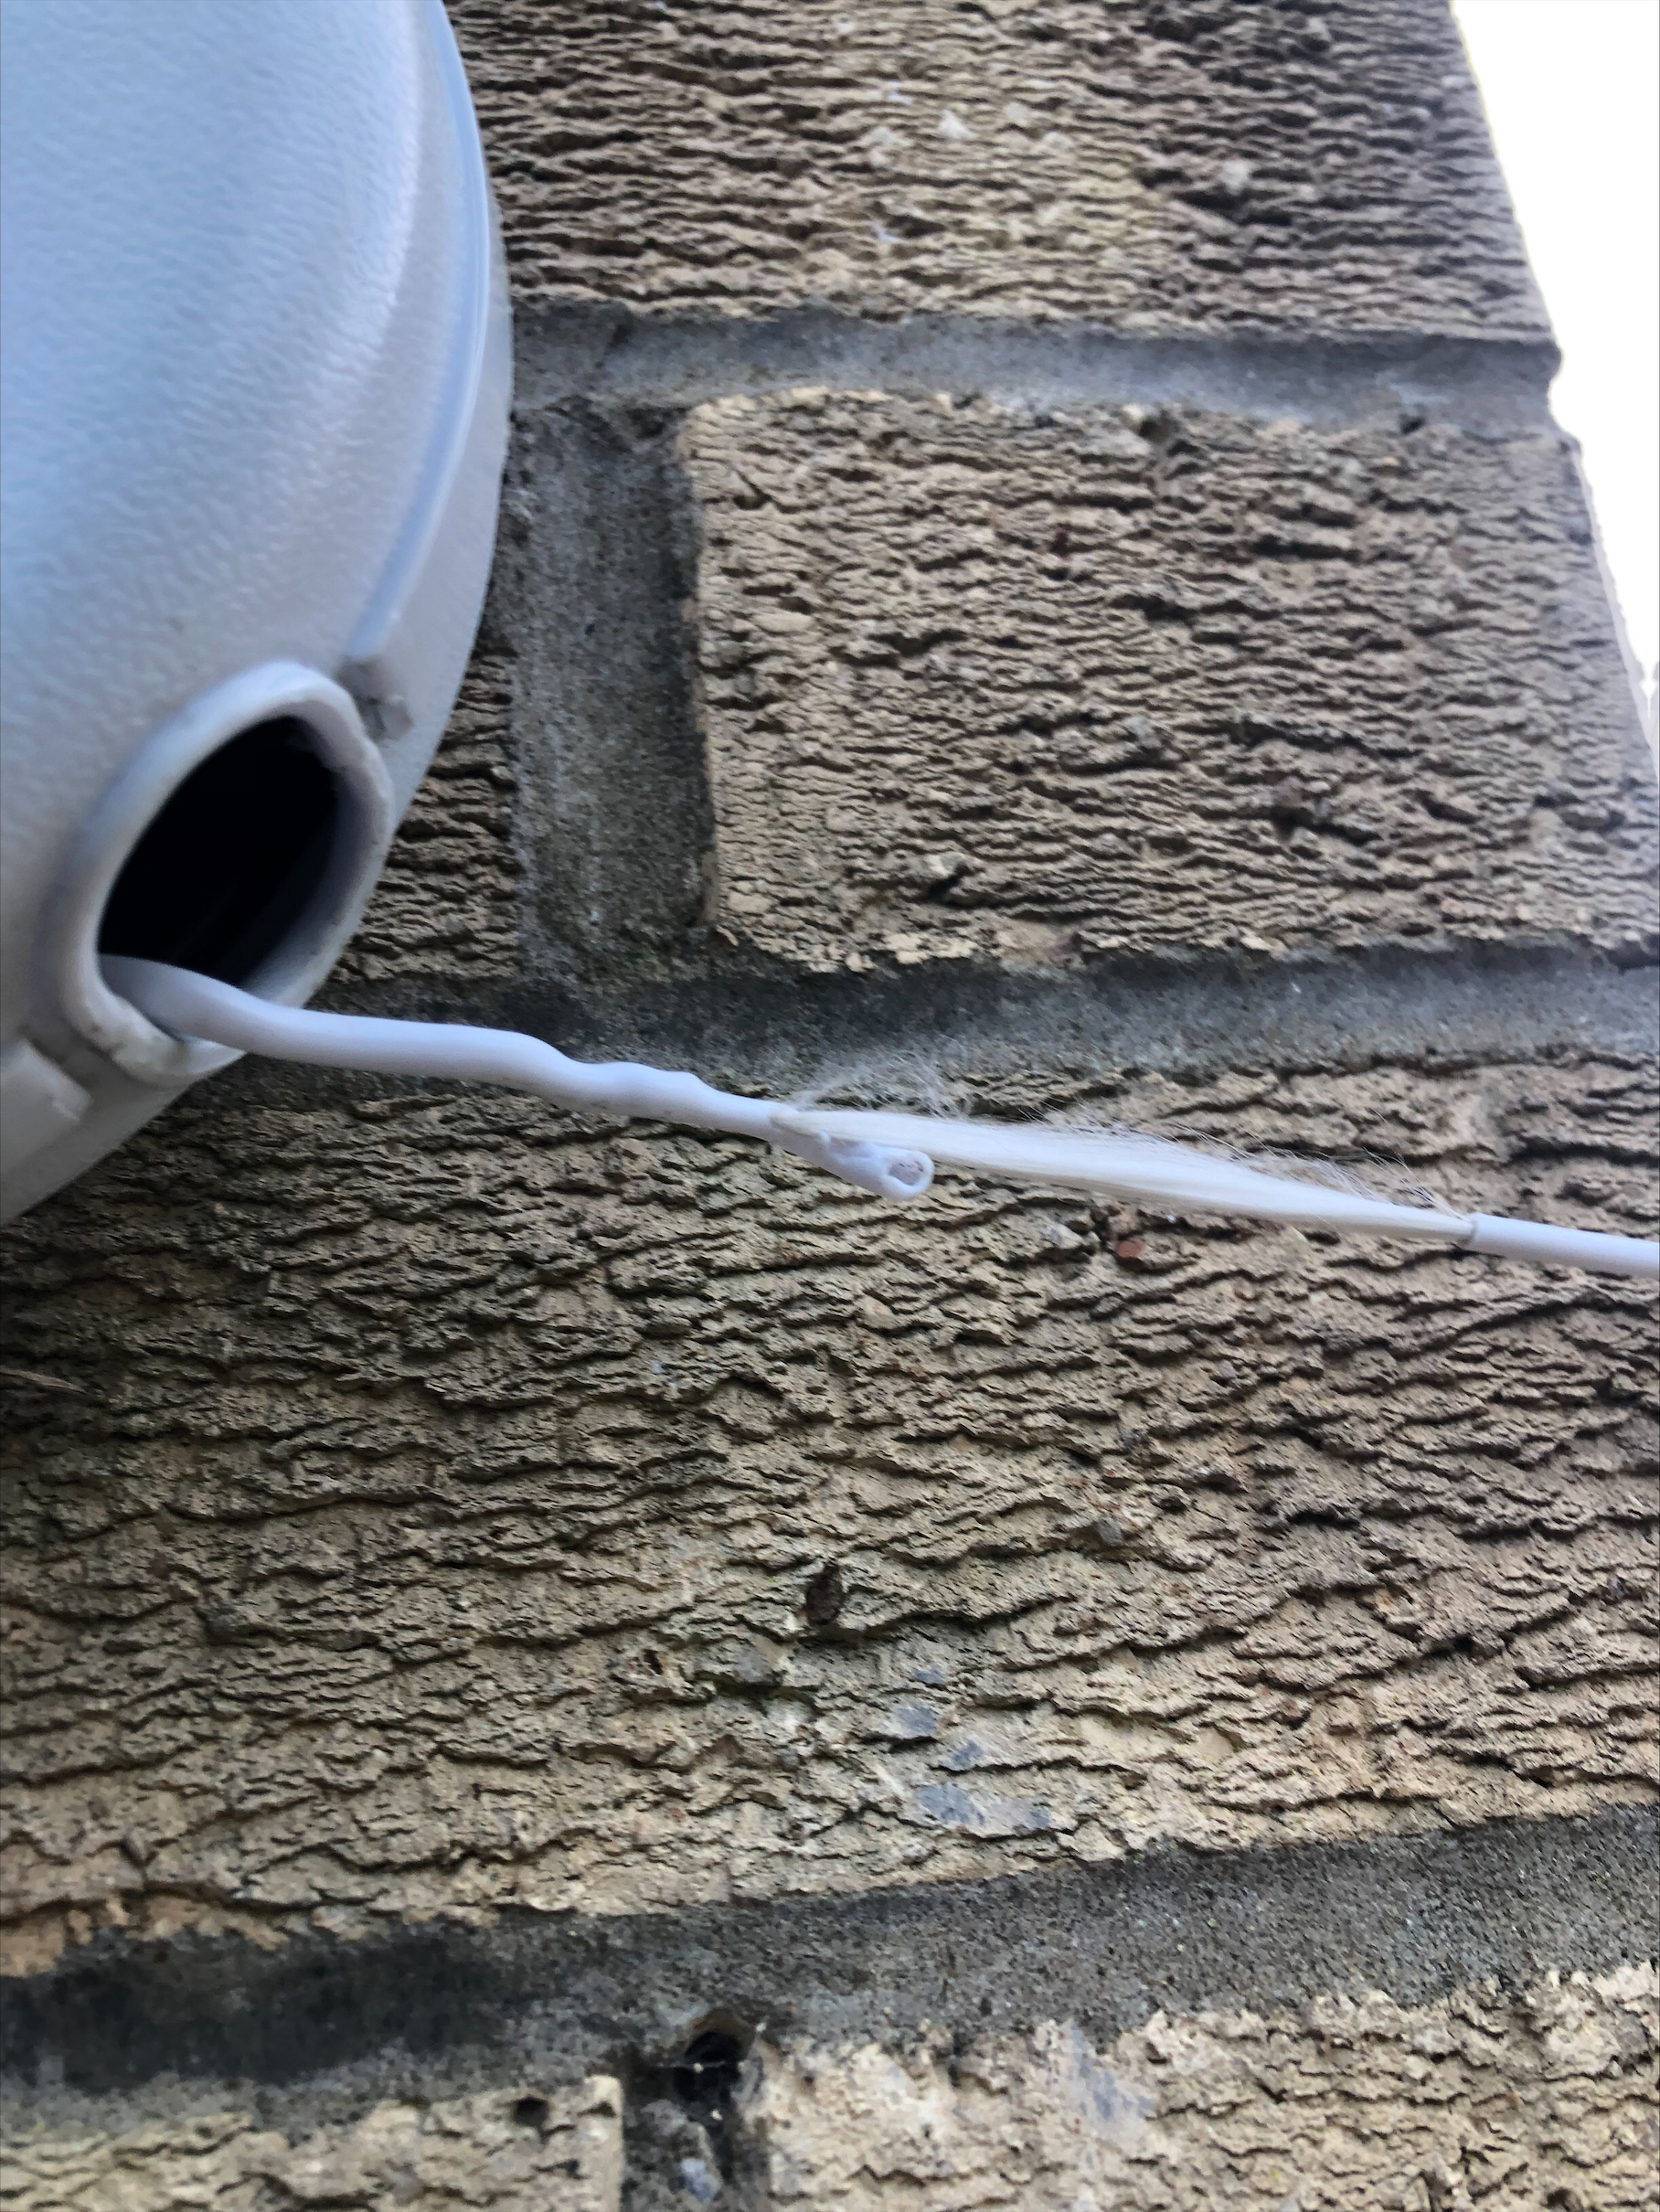
In the summer of 2016 I installed a Minky Retractable Clothes Washing Line in the garden. It worked well until a couple of weeks ago when I heard a clattering noise outside and a cry of desperation from my wife. The new retractable clothes washing line had become detached from its wall bracket and a load of heavy wet washing was strewn along the garden path.

Fortunately it was during a dry period and most items were salvaged without re-washing. They went in the tumble drier to be dried and so did the following week’s washing due to my delay fixing it.

How The Minky Retractable Line Failed

The Minky Retractable Clothes Washing Line has two main parts. A steel wall bracket and the plastic line container. The two are held together by a pivot pin made like a nail but without a point. The weight of the washing had applied such force to the line as to break the plastic and rip it off the pin.

At first sight I thought the retractable clothes washing line wasn’t repairable. Such was the damage to the plastic. Then I thought how I could make a new pivoting part from angle aluminium and bolt it onto what remained of the plastic box holding the line.

By waiting and going back to it in my mind I eventually realised it might be possible to make a very good repair with little effort. And that is what I did.

Retractable Clothes Washing Line Repair Method

The picture below has a black line highlighting the seem in the box holding the retractable clothes washing line. The two halves of the box click together but I’m not sure if they are glued/welded. The exceptional force applied to the line split the box at the seem, just at the pivot pin end, letting the pin escape from the holes.

Retractable Clothes Washing Line
How The Box Splits In Two Halves

I’m sure the box suffered more damage when it fell to the ground. As a result a quadrant of the plastic box surrounding the bottom hole (top right in the picture) broke off.

I Used Superglue On The Plastic Box

I decided to glue the quadrant of plastic back in place, since it fitted well, and apply glue to the seem around the pin holes. For that I used superglue and clamped the pin end in a vice while it set.

24hrs later I could see it was a job well done. That’s the state of it in the previous picture entitled How The Box Splits In Two Halves.

It seemed plain to me that superglue alone would not keep it held together if a great force were applied, but it was a good initial approach.

Additionally I Used Aluminium Straps

I decided to reinforce the adhesive with an aluminium strap/clip wrapped around the ends by each pin hole. If these straps don’t come off the seem won’t be able to open up, even if the superglue gives way.

Retractable Clothes Line
Top Strap

Here you can see the strap I made for the plastic around the top hole. The ends are angled to fit against the curve of the box. I stuck the straps to the plastic so the greater the surface area covered with adhesive the better. Below you can see the strap in situ, without adhesive, to check how it fits:

Retractable Clothes Washing Line
Box With Strap In Situ

How The Straps Were Made

The straps are made of 8 gauge aluminium, i.e. sheet aluminium with a thickness of 3.26mm. No particular reason why I used that gauge other than I had a piece left over from another job and it looked substantial enough.

The sizes used for the straps are:

  • Top Strap: width = 20mm, length used = 200mm,
  • Bottom Strap : width = 13mm, length used = 150mm.

The lengths used were more than required. I had to have enough metal to hold while I bent them into shape. Once bent the excess was cut off.

The width of the plastic box projections at the pin holes is 35mm. So the straps had to wrap around in a semi-circle with a 35mm diameter. I searched my shed for a tube or broom handle with this diameter to use as a former for bending the straps around. I settled on a garden tool (a 3 tined fork with very long handle). Unusually the handle (stale) wasn’t the same diameter all along its length. But the last 150mm was thicker and was 35mm.

Bending The Aluminium Straps Into Shape

I was prepared to damage this tool’s handle to get the repair done. I clamped it in my bench vice trapped between two pieces of hardboard. The handle’s varnish got a few abrasions at this point. That was the only damage done to it.

I then clamped an aluminium strap at its centre point to the handle’s 35mm area to make a cross. See the picture below:

Retractable Clothes Washing Line
Strap Clamped To A Handle. The handle was used as a former around which the strap was bent.

Then by holding the two ends of the aluminium strip I pushed it away from me and around the handle. The curve wasn’t perfect. It didn’t follow the handle curve perfectly. I was able to tap the metal against the handle with two opposing lump hammers.

In the end any gaps between metal and plastic was filled with adhesive to give a satisfactory finish.

I took approximate measurements to determine where to cut off the excess aluminium from each strap. The following pictures show the top strap being cut to length with a hacksaw:

Retractable Clothes Washing Line
Hacksawing The Top Strap To Cut It To Length
Retractable Clothes Washing Line
One End of The Top Strap Is Cut To Length

Attaching The Straps With Polyester Resin

I roughened up the plastic and aluminium with fine abrasive paper to both clean it and to make electrons available for good covalent bonds with the adhesive. This is a necessity when using adhesives on plastics which aren’t solvents.

The adhesive I used was Isopon P38 polyester resin. See below:

Retractable Clothes Washing Line
P38 Polyester Resin & Hardener

NOTE: Other brands of polyester resin are available.

It consists of a grey resin and pink hardener which must be quickly mixed and applied. It hardens ready for sanding in 15mins. I applied it to the plastic and to the aluminium. Then when I put them together there was sufficient to squeeze out between the two materials leaving no air gaps.

Below you can see the result after adhering the top strap:

Retractable Clothes Washing Line
Top Strap Adhered In Place

Below you can see the result after adhering the bottom strap:

Retractable Clothes Washing Line
Bottom Strap Adhered In Place

After the adhesive had set I trimmed the excess with a penknife and fine abrasive paper. My wife wanted this repair to be done quickly so it is a practical repair but not an elegant one.

The end result of all this effort can be seen in the featured image reproduced below:

Retractable Clothes Washing Line
Minky Retractable Clothes Washing Line Repaired

Posted

in

, ,

by

Comments

26 responses to “Retractable Clothes Washing Line Repair”

  1. Anne Biffin avatar
    Anne Biffin

    Helpful Colin, I have a Minky retractable line identical to yours, but would like to make it non retractable. Is this possible please?

    1. Anne Biffin avatar
      Anne Biffin

      I am a senior citizen and find the retractable line difficult to adjust. Like your wife’s problem with the line giving way, my line stretched in the high wind and the washing sagged to the ground.

    2. Helpful Colin avatar

      Hi Anne,
      Sorry to hear you have a problem.
      May I suggest you (or someone who can help you) tie a loop in the line at a place to be determined, by trial and error, so that the loop can either loop over the plastic protrusion on the bottom of the line spool container or over a new sturdy hook which you will have to fix to the wall. If the loop isn’t in the right place mark the line with a marker pen (or piece of tape wrapped around it) and re-tie the knot so that the loop is in a more appropriate place. Re-do this until perfectly positioned. When in the correct place you may have to pull on the line to stretch it over the hook.
      Then you will just have the problem of coiling the line up. Well my first line tollerated having such a knot and loop in it, fortunately, and would automatically coil up once I had fed the loop and knot in through the hole where the line goes.
      Good luck.
      Regards, Colin.

  2. dipak avatar
    dipak

    Hi Colin, great repair, but the problem I have is the plastic lip which you wind the washing line to keep tension has broken at one end which makes it difficult to wrap the line.
    Got any suggestions. I could send you a pic?

    1. Helpful Colin avatar

      Hi dipak,
      Please send the pic attached to an email.
      I will email you with my email address.
      Regards, Colin.

    2. Helpful Colin avatar

      Hi dipak,
      I’ve got your pic and I’m glad I asked for it because your line is different from mine and I didn’t know what part you called a lip.

        Answer

      This will be a strong method but it may deface your brickwork with more holes.

      Get a halyard cleat from a hardware store or chandler and drill the bricks at the side of your reel and screw it to the brick wall. You can then wrap the line around the cleat using one of these methods. Then just let the slack line be automatically reeled into the reel. I used this method for some years with an older reel.

      Rough cast aluminium cleats are available at DIY stores.

      If you don’t want to drill more holes in your wall you may be able to fix a wallboard of strong timber to the existing screw holes and mount the reel and cleat on that wallboard.

      Regards, Colin.

  3. Fran avatar
    Fran

    Hello, Colin,

    I have a Minky 98′ Clothesline. One of the lines is not retracting anymore, is there a way to fix this? I have tried to open it to take a look inside but cannot find a way of doing so.

    Thank you

    1. Helpful Colin avatar

      Hi Fran,
      However you open it up remember, it’s got two strong springs inside, like clock springs, which pull the lines in. So, WEAR EYE PROTECTION.
      I’m sure the case locks together with clicking plastic tabs. Use of glue is another expense in the manufacturing process. You will likely break the tabs forcing it open and need superglue to fix it together.
      Also (especially with two lines) the parts, being springy and coiled up, may well prove unmanageable when it’s all opened up.
      I repaired mine without opening it up. I was wary how it might spring apart.
      Good luck.
      Sorry this is not much help.
      Regards, Colin.

  4. Fran avatar
    Fran

    Hi Colin,

    I was able to open the case, which was glued together. Each coil has its own casing, so I just had to deal with the one that was not working. It turned out to be broken near one of its ends, so I cut it there, and put everything in its place. It is working again now, and I will superglue the case back together, as you mentioned.

    Thank you.
    Fran

    1. Helpful Colin avatar

      Hi Fran,
      Well it’s nice to know you managed to fix it and it didn’t spring apart on you.
      You’re obviously good at these practical tasks.
      I find it’s often quicker and cheaper to DIY, and the results can be longer lasting.
      Regards, Colin.

    2. Carol Ann Long avatar
      Carol Ann Long

      Hi Fran,
      I have messaged Colin too… maybe you can see it further down the page…
      My Minky is not retracting on the left hand side. I pulled it all out in an attempt to allow it to right itself but to no avail. It will not retract. It’s like the spring isn’t working?
      Can you suggest a fix like the one you did? The line seems still attached ok but just not pulling in the line 🙁
      Thank you

  5. Carol Ann Long avatar
    Carol Ann Long

    Hello Colin,
    Great fix!
    My lovely Minky is currently keeping safe and warm indoors as I used it yesterday & the left hand side line retracted all but about a foot… In my haste I kept pulling it out further to allow freedom to wind in only to find I had pulled it all out after a few minutes to see if that would help… cue very sad face as its white spaghetti is nesting & the hub will not suck up the line another sad face : (
    Is it fixable please?
    Thank you so much.

    1. Helpful Colin avatar

      Hi Carol,
      I think you’ll have to open it up, on the broken side at least. Although I’ve not opened one up to get at the spring I’ve always presumed it has the same type of spring that you get in a clockwork motor. I know how tough and brutal clockwork motor springs can be when all the tension is released at once. The thin steel they’re made of can give you a nasty cut. With a device like this there is little tension in it when the line is pulled in and coiled up. The tension is put into the spring when you pull the line out. If you get it dismantled you’ll have to work out how it works and what has broken to stop it working. Then if you can fix it you’ll need to reassemble it with the line wound up and just a bit of tension in the spring to keep it wound up.
      I’m sorry I’m not as much help as Fran because I have not had one fully dismantled. If you open it up and send me a link to a picture I’ll happily give further advice.
      Regards, Colin.

  6. Marco avatar
    Marco

    I have a Minky double retractable clothes line that I bought in 2016 .
    Everything was ok until now ; the 2 plastic protrusions on the bottom of the line spool container to fix the wire broke ! Are there spare parts for that or how to overtaken the problem?

    1. Helpful Colin avatar

      Hi Marco,
      I used this method on a previous occasion with a different brand that broke.
      It was on a wooden post so I used one of these cleats: https://www.amazon.co.uk/Strong-Galvanised-Large-Cleat-Screws/dp/B0874SQ94F
      I mounted the cleat at the side of the box. It can be fixed to a masonry wall if you have the tools to drill the wall.
      You just hook the line up as usual at the far end. Then pull out a lot more line and with the line as taut as you want wrap it around the two hooks of the cleat in a figure of “8” fashion (about 3 times) like you would do with a rope on a boat.
      With a double line you’ll need two cleats of course.
      Mending the box is much harder because you can’t take it apart.
      Regards, Colin.

  7. Dipak avatar
    Dipak

    Hi Colin, can you believe I only saw this reply today 3rd October 2021. THANKS. As it happens I did buy a cleat several months ago and now you’ve given me the confidence to try the fix.

  8. Fran avatar
    Fran

    Hi, Colin and everyone else here.

    I have two Minky retractable clotheslines. One of them broke down in July 2020, and I could fix it, as I mentioned in a previous post. It was not an easy fix, and I needed an extra pair of helping hands to achieve so. Thanks to Colin’s warning, we were very cautious not to get hurt with the spring coil. We used gloves and eye protection. I recommend anyone attempting a fix does this as well.

    Around July 2021, my second clothesline also stopped retracting on one side. Since I did not have an extra pair of helping hands and knew of the difficulty level beforehand, I took a more practical approach. This time, I got a velcro strap and fastened the non-retracting line neatly, and now I let it rest on the back of the reel. It is not as satisfying as it used to be, but it was a safe, fast, and easy solution.

    1. Helpful Colin avatar

      Thanks Fran for your good advice.
      Regards, HC.

  9. Helen Harte avatar
    Helen Harte

    Hi Colin and others,
    These are all very useful tips. I’ve been silly and snapped a line at the retractable reel by not using the product correctly. I am not sure how easy it will be to reconnect the line and use it correctly moving forward. Basically I adjusted it’s length to get it taut but I have kept what I cut off. Then I probably overloaded it too. Any tips most welcome. Though I’m somewhat embarrassed.
    Thanks, Helen

  10. Benjamin Rumbelow avatar
    Benjamin Rumbelow

    Hi, I’m here because I heard my Guardians washing line drop to the floor and I did hear a moment before clanging, it’s a cord line I would like to send a picture by any means , I wish I could receive help please as part of the cord line has been pulled near enough to the line where a plastic box is next to operational on one side , that’s left the washing line drop to the floor.

    I believe because of towels and ‘heavy stuff’ on the line e.g. towels.

    1. Helpful Colin avatar

      Hi Benjamin,
      I have sent a direct email from my email address so you can see where to email your picture to.
      Regards, Colin.

      1. Helpful Colin avatar

        Ben Rumbelow has replied to my request for pictures via email with these:
        Image_1
        Damaged washing line.
        Image_2
        Damaged washing line

    2. Helpful Colin avatar

      Hi Ben,

      All the strength in the washing line is in the string which passes down the centre. The Damaged PVC covering is just there to protect the string and provide some thickness and a wipeable surface which you can keep nice and clean.
      I’ve had a line where the PVC skin was torn like yours. I can see you have still got a lot of line wound on the reel which you can use if it is long enough.
      You just need to cut off the bad bit and tie the hook on the end of the line again.
      1. pull the line out of the reel by holding the good bit and stretch it to the hook down the garden to check if there is enough line on the reel to use. You’ll want another 60cm pulled out as well. If there is enough line, you’re onto a winner.
      2. get someone else to hold the line while it is pulled out or tie it to a stick, so it won’t shoot back in the reel while you work on it.
      3. cut off the bad bit of line and untie whatever hook is on the end and then tie it on the new end of the line. Once you’ve done that you’ve got a new line.
      4. at the reel end you need something to tie the line to because the piece it used to tie onto on the reel is broken off. I would use a galvanised cleat screwed to the wall near to the reel and at the same height. Are you able to drill the wall and screw a cleat to it?
      5. pull the line tight and wrap the line near the reel around the cleat in a figure of 8 fashion 2 or 3 times.

      Regards, Colin.

  11. Kay avatar
    Kay

    We have 2 old Minkys that have served us well but now neither will fully retract. How can we get them going again? Half the line is hanging out. What triks will trigger the spring into action and what do we need to look for?

    1. Helpful Colin avatar

      Hi Kay,
      Unfortunately, you can’t take these things apart. They’re glued together and trying to dismantle them just breaks the plastic. I think it would also be very difficult trying to reassemble one with the spring coiled up, holding the line all the way in especially when you would be trying to glue a broken plastic case.
      if you can pull more line out and that part retracts with the spring but just leaves some dangling, you may be able to cut off the excess line and retie the end hook on the remainder. That’s if there is still plenty of line left to span the distance between your wall and where you hook the line.
      Alternatively, you could remove the hook/loop from the end of the line and thread the end in through the hole in the reel and direct it over the top of the spool until it comes out at the bottom. Pull it tight and repeat until there is no more spare line. then when you pull it out it should all coil up again under the influence of the spring. I think this will be hard to do and will require much patience.
      Failing that it’s probably the end of the road for your existing line. Sorry.
      Regards, Colin.

Leave a Reply

Your email address will not be published. Required fields are marked *

This site uses Akismet to reduce spam. Learn how your comment data is processed.