Preface
This post describes: Opening Dual-Flush Toilet Cisterns to maintain the inlet valve and flushing mechanism.
Introduction
If you have tried opening dual-flush toilet cisterns you may have found the lid was held down by something. But what? There are no clips or screws.
Traditional porcelain cisterns flushed with a handle have their lids held down by gravity.
Opening Dual-Flush toilet cisterns, like my Armitage Shanks1 Ascania, can be difficult. They have their lids held in place by the Geberit Flush Button Mechanism2. The Button Socket, mounted in the cistern lid, is held down by a plastic screw attached to an internal part within the cistern.
This article gives advice on this type of dual-flush toilet cistern lid removal.
Opening Dual-Flush Toilet Cisterns for Armitage Shanks Ascania Toilets
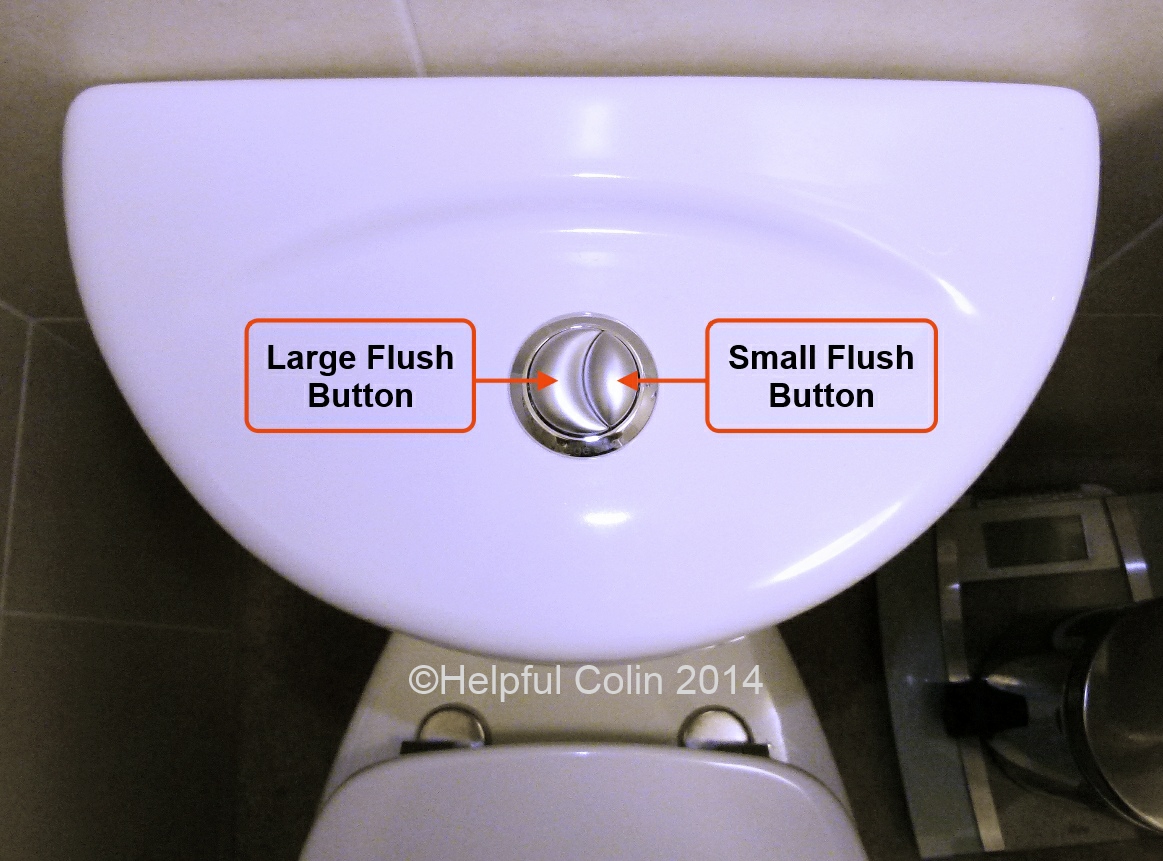
To open an Armitage Shanks1 Ascania cistern, start by extracting the two buttons from the Button Socket.
Extracting The Dual-Flush Buttons
Push one button down all the way and keep it down (the toilet will flush). Turn your finger so that your fingernail engages with the side of the other button. Both buttons have a finger nail notch on the side. Dig your nail into the notch and pull out the button. The button will click out of position ready for removal from the socket. My buttons have a long thin rod of plastic attached which reaches down to operate the real buttons inside the cistern. Be careful not to break them.
Pic. 1 to 5. Removing The Buttons
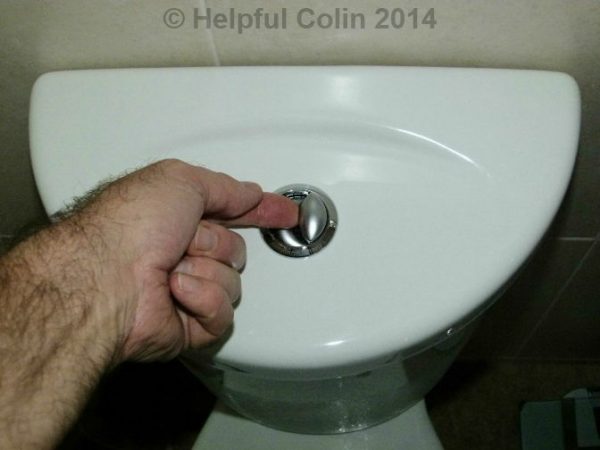
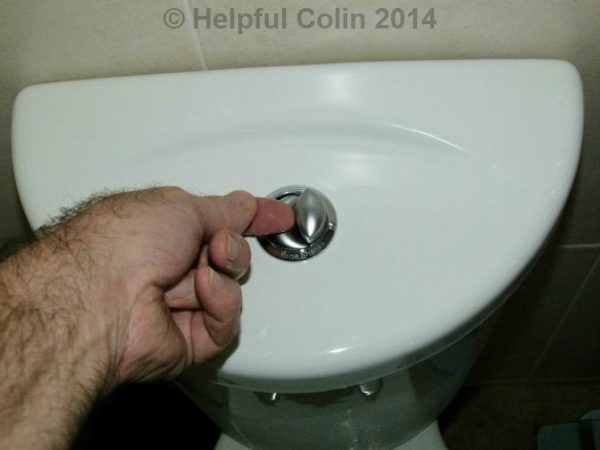
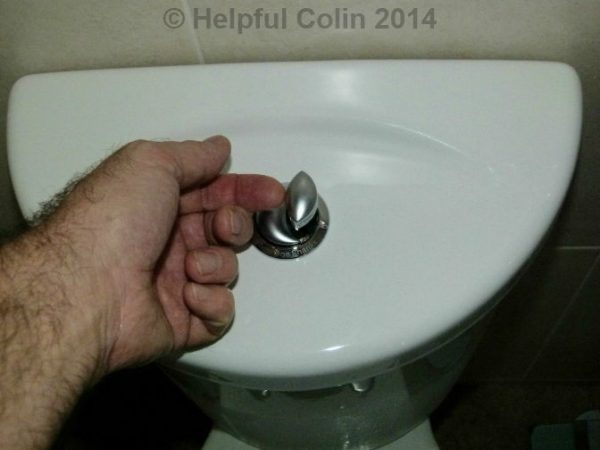
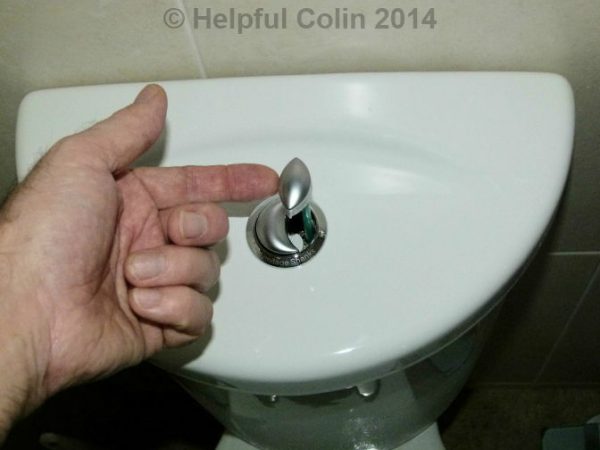
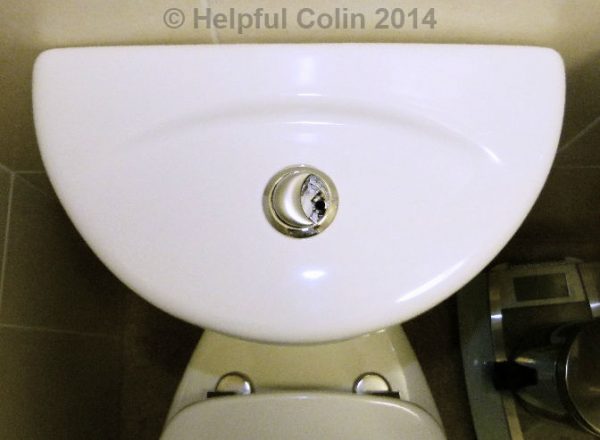
Now with your forefinger of the other hand engage your fingernail in the other button in the same way and pull it out with a click.
The Button Socket (Silver Cup)
Look into the socket and you will see a plastic screw that has up to now escaped you. It is the one that holds the lid on. It shouldn’t be over tight. unscrew it anticlockwise ![]() with a screwdriver having a wide flat blade 1mm thick. Don’t chew up the soft plastic of the screw with a screwdriver that is too small.
with a screwdriver having a wide flat blade 1mm thick. Don’t chew up the soft plastic of the screw with a screwdriver that is too small.
The silver button socket mounted through the lid has no thread in the screw hole. The screw is just a tight fit so it doesn’t easily drop out. The thread into which it screws is in a flat plastic Sliding Plate held aloft by a frame, referred to as a bridge, attached to the flushing module/valve below the Button Socket.
Wash and clean all parts before reassembly.
NOTE: Cleaning fluids running into the Button Socket will drain through holes into the cistern for flushing away.
You can see all the parts below:
Pic. 6. Both Buttons Removed

The Sliding Plate In The Bridge
See the cistern below with the lid removed and the internal parts labelled:
Pic. 7. Cistern With Lid Removed

The Sliding Plate in the Bridge (Height Adjuster) is loose. It moves around horizontally so that its holes align with the Button Socket in the lid.
Be careful not to accidentally push the Bridge down. It ratchets down easily but is hard to draw back up. The picture below should help with this:
Pic. 8. How to raise the Bridge on The Flushing Mechanism

The Bridge has two ratchets, one on either side of the mechanism.
To lower the Bridge:
Just push it down gently and it will click into place 7.25mm lower down. (7.25mm is the distance between holes in the ratchets.)
NOTE: Due to flexibility of the Bridge plastic one side may go down with one more step than the other side. The Bridge seems to tolerate that but the highest side needs pushing down until both sides are at the same height.
To raise the Bridge:
Squeeze the buttons on both of the ratchets’ pawls (pointed to in the picture). That will press the pawls into the mechanism together to disengage them from the ratchets. Then pull the Bridge up. This is difficult because the plastic is a bit too strong to squeeze. I have failed to squeeze them both at the same time, even with the mechanism out of the cistern. When the mechanism is in situ, it may be easier using a ‘third hand’ to pull the Bridge up while using both hands to squeeze.
My advice: Squeeze one pawl at a time and raise one side of the Bridge by one notch, then repeat with the other pawl. The plastic is flexible enough for the pawls on opposite sides to be one notch out of step. Any more than that and the plastic may break.
Ultimately the Bridge needs to sit just below the Button Socket. The Sliding Plate also has two holes through which the Button Spindles3 pass on their way to engage with the real buttons below.
Aligning The Holes In The Plate With The Button Socket
When assembling the buttons, start with the Bridge high up on the rachets. When the cistern lid is put on it will push the Bridge down to nearly the correct height. Then look through the hole in the cistern lid to see how the sliding plate is positioned. Shine a torch down there to illuminate it.
Use a pointed tool like a thin screwdriver, pencil or button spindle inserted in the central hole. Move the plate and centre the three holes to receive the Button Socket.
In order to engage the large white screw with the thread in the Plate the holes in the Button Socket (silver cup) need aligning with the holes in the Plate. This is done by using the buttons’ spindles to keep the holes aligned while tightening the screw. See the picture below:
Pic. 9. How to align the holes of the Button Socket & the Plate

The button socket can then be attached and the big white screw can be turned to engage the thread. Then the Button Socket can be pushed down into the lid ratcheting the Bridge lower as it goes down. The screw can then be tightened to finish the job by pulling the Button Socket down and the Bridge up trapping the lid between them.
NOTE: When fitting the spindles in the holes the black one has a larger diameter than the green one.
NOTE: The buttons can remain on the spindles so long as each button is rotated 180° to produce a gap between them. Then a screwdriver will fit in between to reach the big white screw.
NOTE: If the cistern lid has been prised off (or just forced upwards) by someone who doesn’t know how it is held in place, then the Sliding Plate, Bridge or some other part could be cracked or broken and will need replacing2.
Flushing The Cistern With The Lid Off
To flush the cistern with the lid removed poke something suitable through the holes in the Bridge’s Sliding Plate and use it to push the flushing buttons down, e.g. use a button with spindle attached, a screwdriver or press with a finger where space permits.
Reference
1. How to change a Geberit Flush Button and Valve
Here you can see a plumber performing a dual-flush toilet cistern lid removal while working on a Geberit Two Flush Button Outlet:
In the video you can see how the outlet valve splits in two, with the lower part remaining in the cistern, while he adjusts the height of the bridge.
2. Encyclopedia of Toilets
Check out this Encyclopedia of Toilets. Part of InspectAPedia.
Footnotes
1. Armitage Shanks are now part of Ideal Standard.
2. Parts for the Geberit Flush Button Mechanism used by Armitage Shanks and Ideal Standard can be obtained from Amazon and other suppliers as follows:
Geberit Dual-Flush Valve with Internal Overflow and Buttons
Geberit Dual-Flush Valve Push Buttons
Geberit Dual-Flush Valve Bridge
Geberit Dual-Flush Valve Base Sealing Washer
Geberit Dual-Flush Valve ONLY without Internal Overflow or Buttons
For other suppliers search under GEBERIT, TWICO, Ideal Standard or Amitage Shanks.
These parts may also be available from builder’s merchants, DIY stores and hardware shops.
3. Button Spindles are cut to length according to the size of the cistern that the flush valve is installed in. The spindles are hollow and so stainless, brass or nylon screws may be inserted into the bottom of the spindles to make their length adjustable, particularly if they are cut too short.
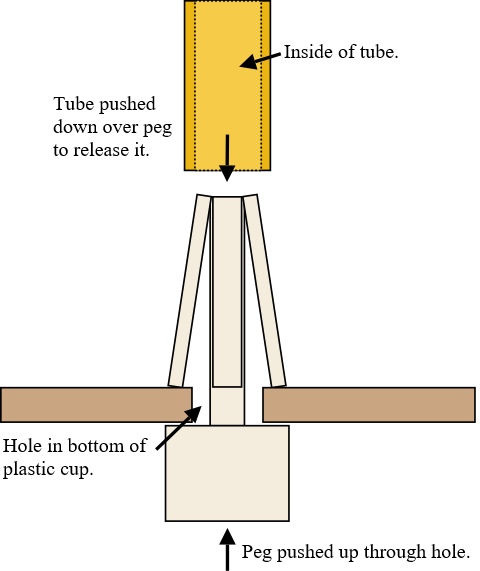 showing how the correct size tube could be pushed over the peg to squeeze the splines together all at the same time so they will pass back through the hole. If you don’t have any suitable tubing try a wooden dowel with a hole drilled in the end.
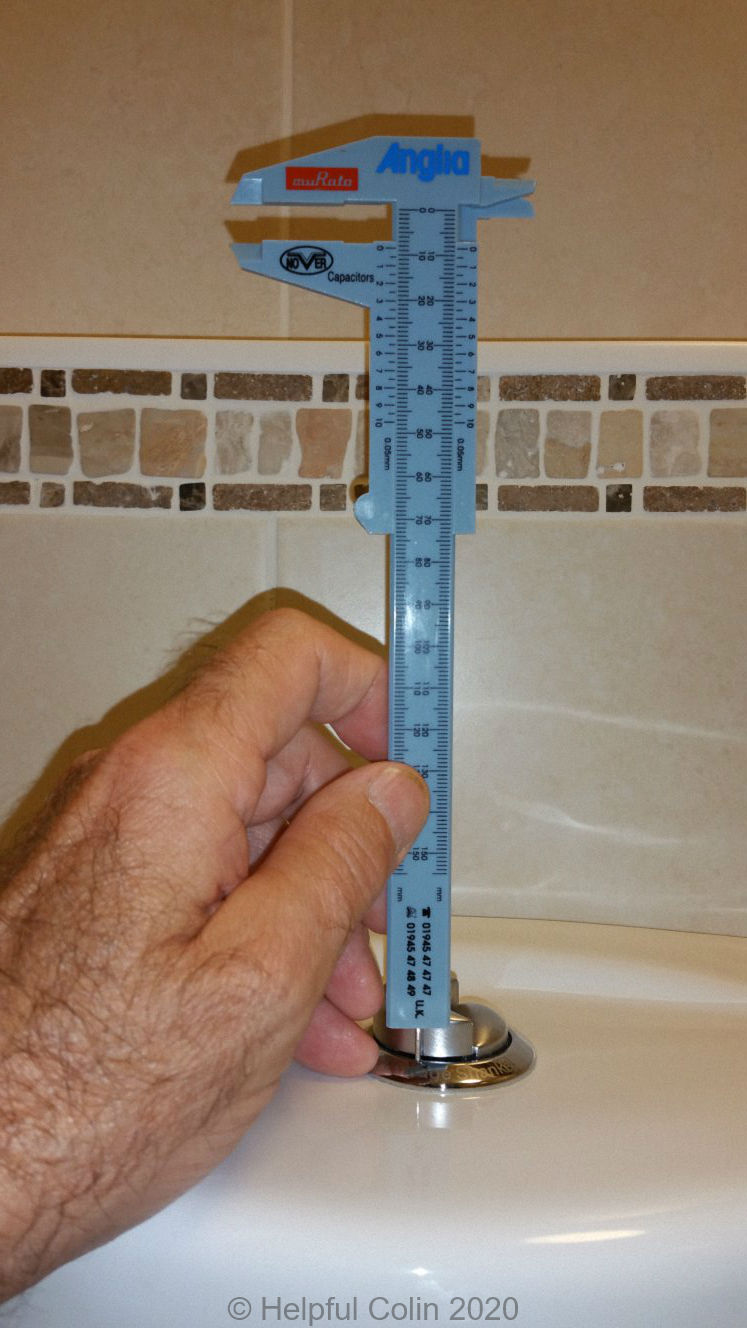

Leave a Reply