Introduction
If I water plant pots in dry weather the water runs over the top of the soil to the edge of them. Then, because the dry soil in the pot has shrunk, the water runs down a gap between the soil and the pot side. When the water gets to the bottom of the pot it runs quickly through any shards, stones, etc., used for drainage and pours out of the drainage holes. So, I needed a Plant Pot Reservoir to retain water and feed the soil slowly.
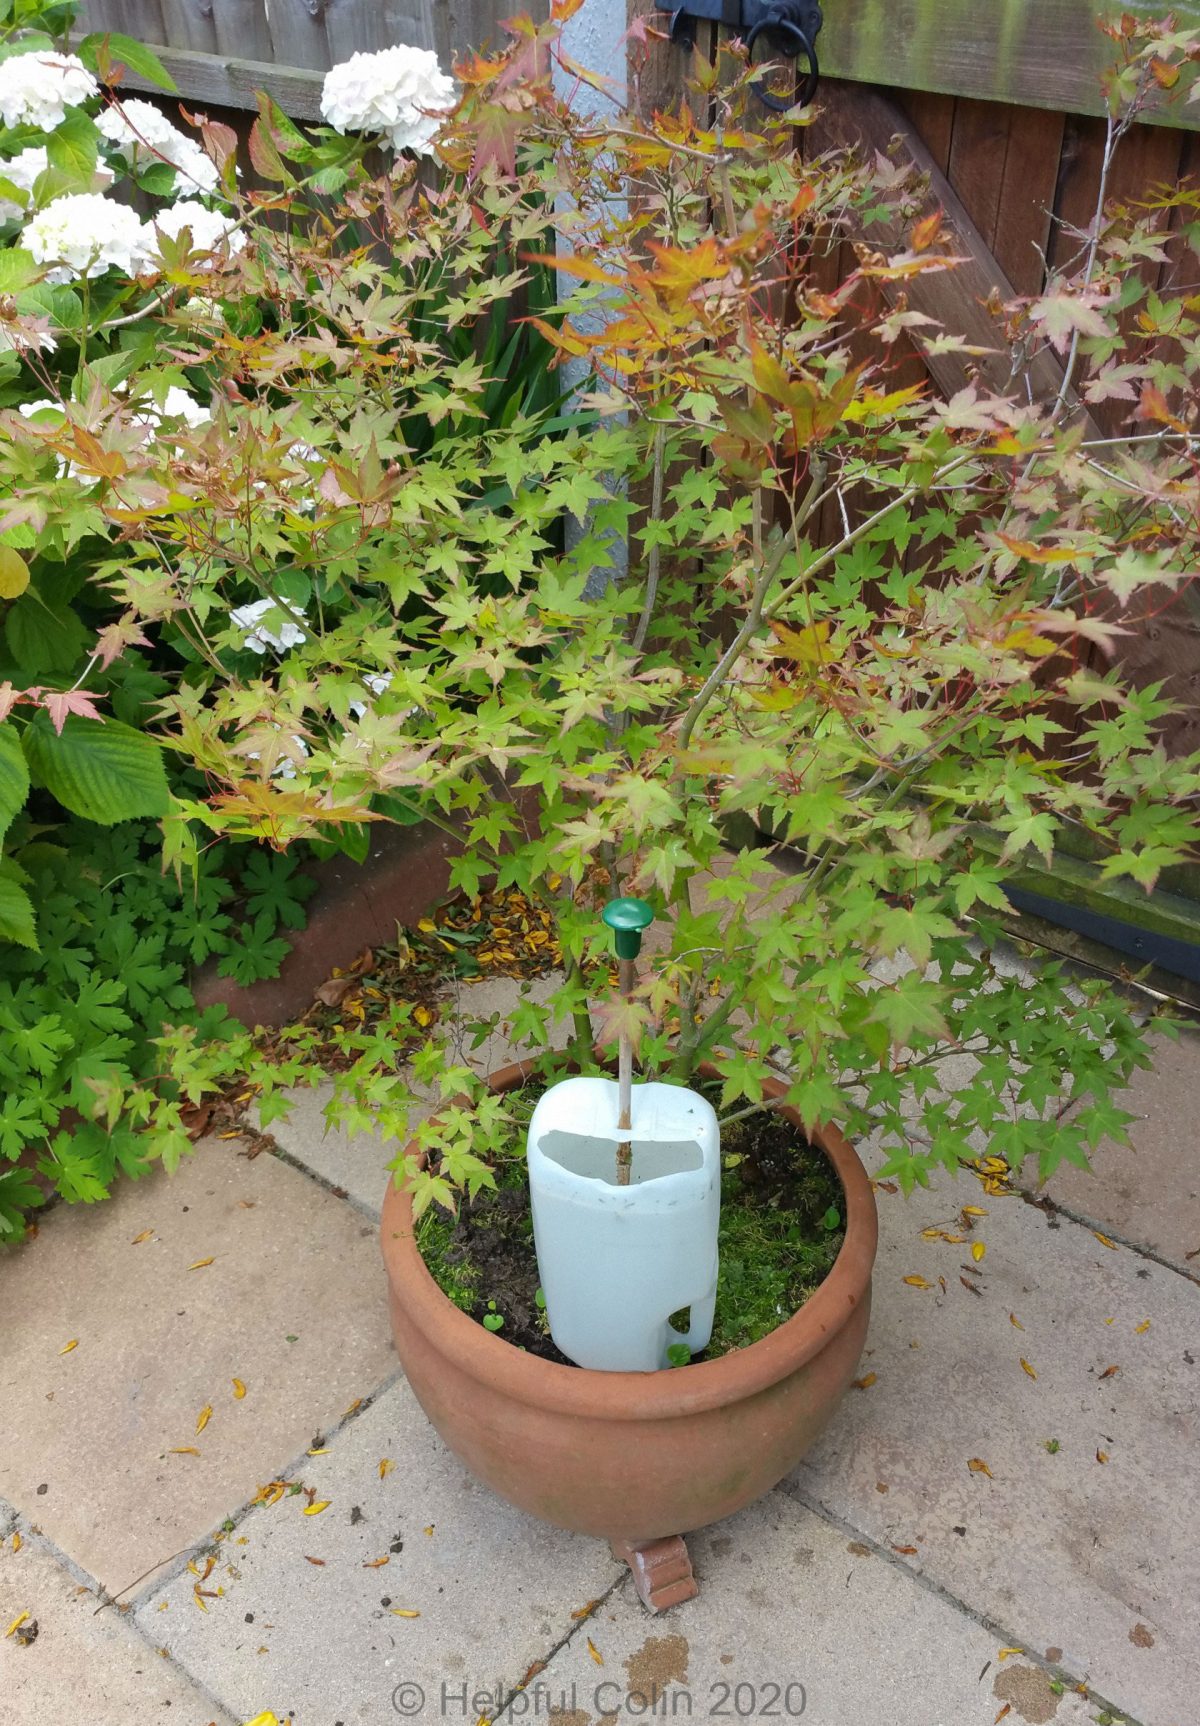
The featured image shows a potted acer tree.
Options For Solving The Problem
One solution is to gently water until the soil has got damp and then start again. That’s time consuming so I made a water reservoir that can be filled and left to feed the soil in the pot over time.
My Choice of Plant Pot Reservoir
I chose to use four pint (2.27 litre) polythene milk bottles as water reservoirs in my plant pots. All manner of plastic bottles will probably do the job but I have a regular supply of these milk bottles.
The water has to be able to drain out through the top opening of the bottle while it’s upside down. The opening has to be pushed down into the soil somewhat, to make a seal and prevent water rushing out through any gaps between soil and plastic. If it does rush out it will just drain away too fast from dry soil as I described in the Introduction.
Some of my other Garden projects:
Converting A Milk Bottle Into A Plant Pot Reservoir
After a few experiments with unsupported bottles, which tended to fall over, I worked out a simple method of supporting a plastic bottle. Basically I put a short garden cane through the centre of it to support it.
Plant Pot Reservoir Construction
Follow the instructions below and you too can prepare a four pint milk bottle to be used as a Plant Pot Reservoir.
Instructions 1 to 6
1Prepare a short length of thin garden cane about a half metre long. Put a Cane Cap/Topper on it to protect people’s eyes. Garden Canes are very dangerous without these Caps/Toppers. People don’t see them as they bend down to tend their plants and end up with serious eye injuries.

2Prepare a four pint milk bottle like, this one shown upside down in its new attitude:

Use a marker pen to mark out the hole for the supporting cane and the cut-out for filling with water.

3Make a hole, the same diameter as the cane, in the middle of the bottom of the bottle. The hole should be a little off centre to help with instruction 4. This has its difficulties because that’s where the thickest part of the bottle plastic is. That makes it hard to pierce so a sharp pointed tool is required, like the pointed end of a pair of scissors, a small kitchen knife or a pen knife. Great care is needed to avoid injury from this action as the Point can stab you when it suddenly goes through the plastic. KEEP BOTH HANDS AND ALL OTHER BODY PARTS BEHIND THE POINT.


4Use the scissors to cut away about half of the bottom of the bottle to make an opening through which it can be filled. Don’t let the Fill Opening and the Cane Hole become one big hole.


5With the bottle upside down push the top opening of the bottle into the soil. When the soil gets wet it must form a seal around the inverted bottle top. This seal gets better with use.

6The cane is then threaded through the hole in the bottle bottom and pushed into the soil visible through the top of the bottle. This will stop the bottle falling over when it’s full of water.
End of Instructions
When the reservoir is filled, the water will slowly soak into the soil via the hole in what was the bottle top.

Leave a Reply