Preface
This post describes: How to repair garden seat legs that have gone rotten where they come in contact with the ground. The basic method is to remove the rotten wood and replace it with polyester resin.
In particular: See the update for 3rd October 2019 entitled, “Replacing The Cap On A Leg.”
Introduction
I have two teak garden seats which spend all their time outdoors on the lawn or patio. They go back to the 1980’s and the bottom of all the legs has rotted where they are perpetually in contact with the ground. I first noticed the problem while I had them upside down when I was cleaning and sanding them ready for repainting. I dug a penknife into the underside of the end of each leg only to find the wood was soft and easily dug out. I had painted them with exterior paint several times over the years but this wood wasn’t good to paint anymore.
I had noticed a deterioration in the wood previously when I painted them but just put plenty of paint on the bottom of the legs after letting the wood dry out. The problematic area was in the bottom centimetre of each leg. It had got to the point where the wood was crumbling away and the legs were now all different lengths. I had to find a method of repairing these rotten garden seat legs.
My Method of Repairing Rotten Garden Seat Legs

I decided to remove all of the bad wood by prodding and poking the leg ends with a penknife and sanding as necessary. I then let the leg ends dry thoroughly before applying polyester resin in the form of David’s Isopon P38 (a car body filler.) (Other brands of polyester filler are available.)
I built up the leg ends beyond the original length. A few measurements and a bit of guess-work were required to determine what length to make the legs. The jagged nature of the leg ends made a good bond with the resin filler.
Polyester resin sets in fifteen minutes and it can then be sanded. I wrapped a quarter sheet of course grit paper around a block of wood to sand the polyester resin. I sanded it until it was flush with the sides of the leg. Then I sanded the end of each leg until it was reduced to its original length.
As is often the case when building up with polyester resin unevenness in the surface may appear after sanding to shape just because there wasn’t enough resin applied in the first place. It’s very easy to mix some more resin and apply it where necessary. Be sure to remove any sanding dust first with a brush, by blowing or using an air duster. Then after another fifteen minute wait it can again be sanded down.
The polyester resin I used is grey but with two or three coats of paint the repaired area soon blended in with the rest of the seat.
Yes the seats are teak and I used Sadolin paint. Some people leave teak to go grey and others oil it. Well if left to nature green stuff grows on it and it splits and deteriorates. After a couple of years outside the natural oil has gone and it takes paint. I have used Teak coloured Sadolin for years but now I have changed to Mahogany to match my windows.
I Repaired All The Rotten Garden Seat Legs
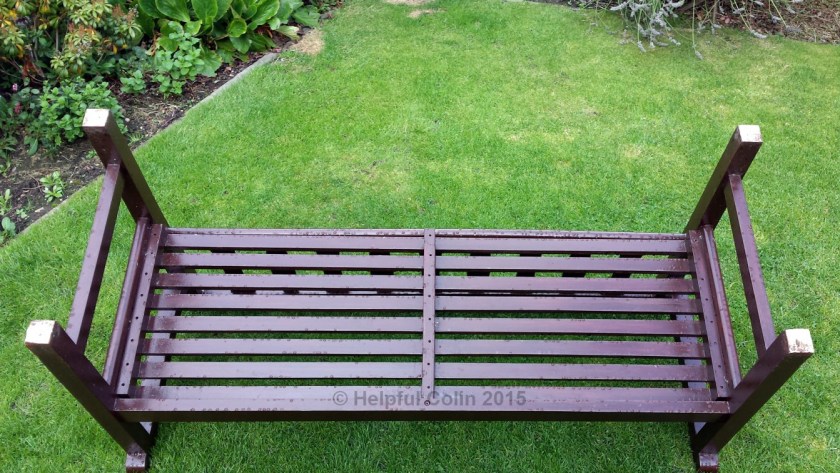
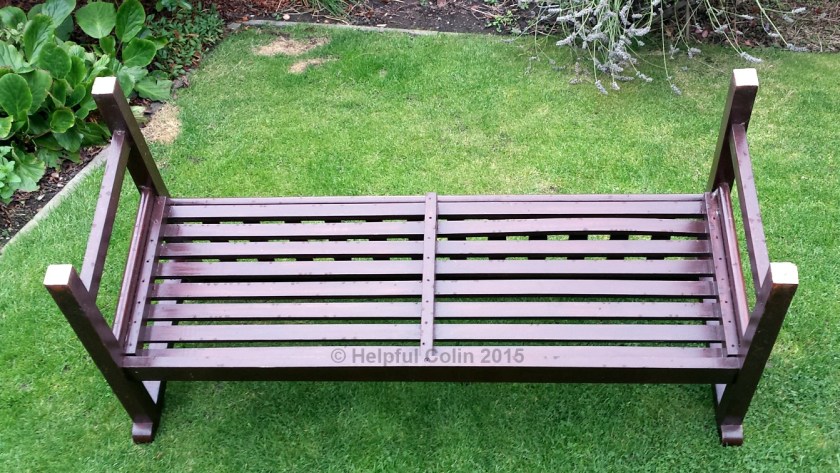
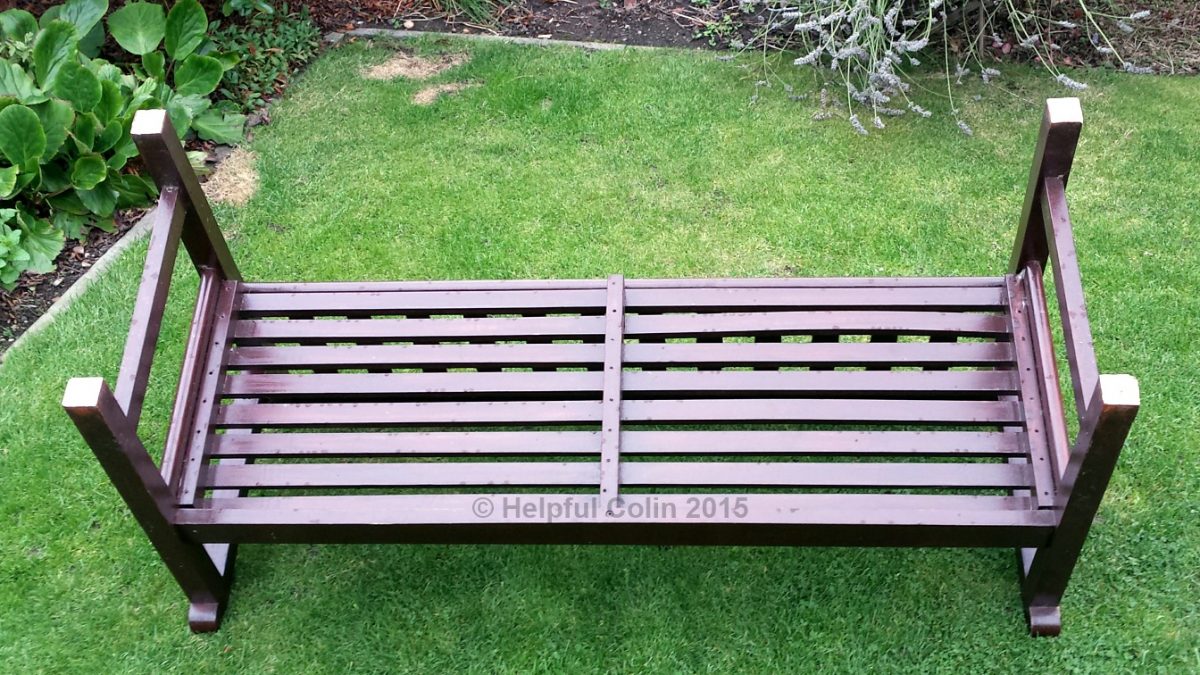
I actually repaired one seat in 2013 and the second in 2014, after I found the first seat’s repair was satisfactory. I found that the polyester resin was very well adhered to the original wood. Being water resistant it kept the bottom of the legs from soaking up any moisture from the wet ground. Here is the final result as seen in the featured image. It’s rubbed down and ready for painting.

Previously the paint on the bottom of the legs soon got worn away by moving the seats about. The abrasions from the lawn and the patio let the moisture into the wood. As soon as I covered the bottom of the legs with 5mm of polyester resin the legs were permanently waterproof. This has proven to be such a good method I would recommend building up new wood by 5mm before garden seats are put into use. This would prevent them rotting in the first place. However I am not sure if the oily nature of wood like teak would prevent the polyester resin from adhering when the wood is new.
Time Has Passed Since I Repaired All The Rotten Garden Seat Legs
Today, 6th October 2015, I examined the seat I repaired in 2013 and that has faired well. It looks as good as when I did it:

However the one I repaired in 2014 has problems on two legs:

There are chips and a crack as you can see below:


I will now have to wait for dry weather to repair these legs. It’s getting towards winter so when it is dry it might not be warm enough for P38 to set quickly. So I might find that I’ll have to wait until spring.
Update: 3rd October 2019
Replacing The Cap On A Leg
Today I have repaired a leg on one seat. I found the polyester resin cap detached from one leg a couple of days ago. I found the cap virtually undamaged on the patio. See below:

I presume it had become detached as it was knocked against a raised part of the riven patio paving.
Today I glued it back in place with weather resistant RESIN “W” (EVO-STICK weatherproof wood adhesive). Neither the leg or cap had got damaged after separation and they fitted together extremely well. So, a permeating water based liquid adhesive seemed ideal for the job. This type of adhesive is ideal if the wood may be damp.
The picture below shows how I applied even pressure with a clamp to squeeze the two parts together. In this position the clamp had to be tilted. So, I let the edge press down on the cap evenly by placing it on the cap’s centre line.


Leave a Reply