Introduction
I recently spent half a day removing block paving moss from my driveway. The paving, laid in 1993, has been cleaned more than once but moss soon grows under damp conditions.
Because the blocks have a chamfered edge there is a V shaped recess at the junction between blocks. This is a space where moss can grow, and boy does it grow. In this recess moss doesn’t get worn away by traffic (cars or feet).
Given a good wet period the moss swells in size until it sticks up above the blocks. Under those conditions it can become very slippery under foot giving me good reason to remove it. You can see it below.


You might ask why I’m only discussing moss and not regular weeds. That’s because I use weed killer during the spring and summer so I’m just left with moss in the autumn and winter.
Regular weed killers are not effective against moss. Moss killer turns it black but at some point the dead moss needs removing.
A Clean Area Of Paving
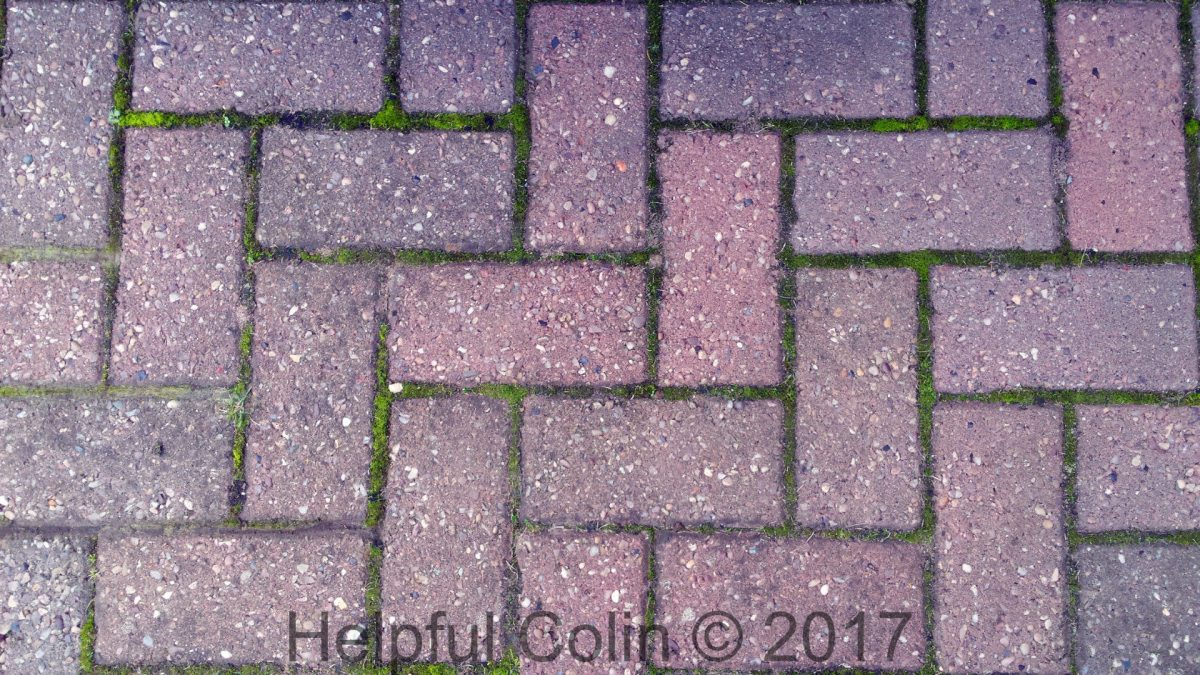
The featured image shows a mossy patch of block paving. By comparision here is an area of block paving under my car port which has always been relatively dry and has no moss:

Removing The Block Paving Moss
The Tool I Used To Remove Block Paving Moss
At least two years ago I bought a tool to remove block paving moss and weeds. It works in the gaps between paving slabs too. The tool is a Veri-green Weed Sweeper N1C-100JS with a (230-240v) 140W motor. There are a variety of weed sweepers available under other brand names.
Here are some similar tools:
- Electric Patio Clearing Brush from Coopers of Stortford,
- Grizzly EFB 401 Electric Patio Weed Sweeper from Primrose.co.uk,
- Skil Joint Cleaner Urban Series 0700 AA from Simply Shopping via ebay,
- Garden Gear Electric Weed Sweeper,
- ebay has similar items too. Search ebay for ‘electric weed sweeper’.
A safety lock off button prevents accidental operation of the mains switch. Press it before squeezing the switch to turn the weed sweeper ON.

This Weed Sweeper comes with two types of brushes:
 a steel wire brush,
 a synthetic stiff-bristle brush.
I prefer the synthetic stiff-bristle brush, except that it wears down, it keeps its shape and seems very robust. The wire on wire brushes tends to bend and permanently change shape.
To change the brush: Unscrew a nut on the end of the motor shaft and lift it off. The brushes have a keyway to fit on a key on the shaft. The key arrangement stops them from slipping.
The Method I Used To Remove Block Paving Moss
I connected the Weed Sweeper via a suitable extension lead UNCOILED (although it’s only 140W.) (See my post UK 13 Amp Plug and Mains Extension Lead Safety Issues.)
The weed sweeper is designed to be held right or left handed with the rotating brush on the left and the steadying wheel on the right.
When looking at the brush end of the motor the brush is driven anti-clockwise which drags the brush forward in the channel/grove.
I think the designer expects the user to only push it forward with the rotating brush in the channel/groove to be cleared but that doesn’t give me the best result.
I like to push it forward 300mm and then drag it backwards whilst pushing it down into the groove. Dragging it backwards really digs the dirt out of the channels/groves.
My block paving has V shaped grooves formed along the block edges by the chamfers of adjacent blocks. On my herringbone pattern paving these grooves have blocks interrupting their path at regular intervals.
I can use the weed sweeper to clear along the edge of 1½ blocks. Then I have to lift it over a block before lowering it onto the next 1½ block section. (By ½ a block I mean the end of a block which is half the size of a block’s length.)
In the following diagram green highlights the horizontal grooves and blue highlights the vertical grooves. They are all 1½ blocks (300mm) long with a ½ block (100mm) gap before the next groove:

Check out this video to see me in action:
The Duration Of The Work
Doing this cleaning work can be time consuming. Below you can see the result of 30 minutes work going continually in the same direction. The process is only efficient when done methodically. I do all the grooves in one direction then I change direction and do those at right angles in the same area.

It took another half hour to clear this section of driveway of the block paving moss and sweep up the dirt. You will see small sections I have missed because I have a tendency to stick to the bad areas.

After cleaning, the correct process is to brush kiln dried sand into the gaps between the blocks. I find there are not many gaps. After so many years these blocks are filled more with soil than sand and it sticks in place after weeding with a weed sweeper.
Washing block paving with a jet-wash is more inclined to remove the sand from between the blocks. Then fresh sand is required or the blocks become loose, weed seeds can get deep down the gaps and the blocks can rattle when cars drive over them.
Further Advice
I’ve just described a particular method I used to remove moss and weeds from between paving blocks. If you want expert information you can read this article about Cleaning Paving from The Paving Expert.


Leave a Reply