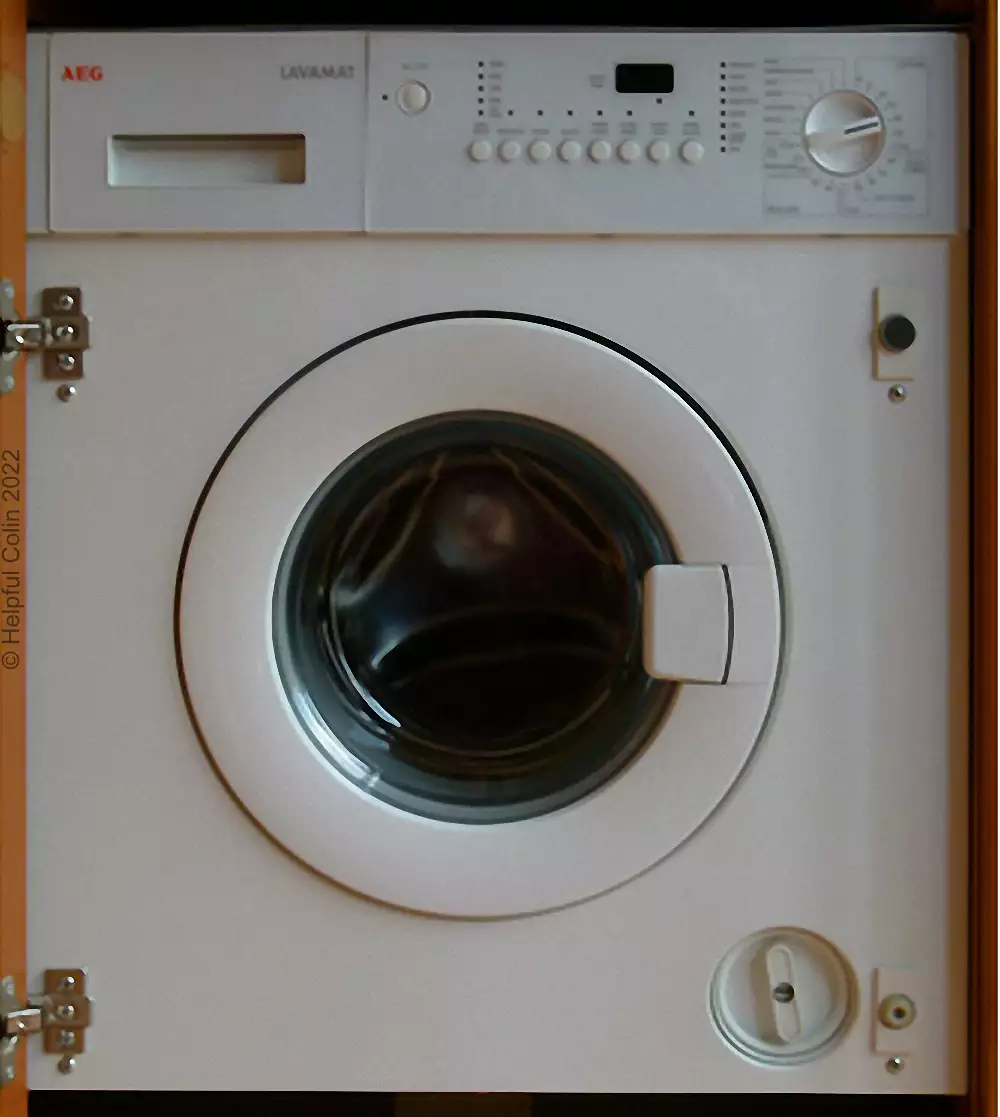
Introduction
Every two weeks I am reminded that I should be cleaning the washing machine filter and every four weeks I am reminded to attack any mouldy washing machine parts. Well today (Tuesday when the machine is not usually required) was the day for both. So you’re in for a full description.
I Check For Mouldy Washing Machine Parts When I Clean It

Filter
This collects mainly fibres from garment materials like wool. Also hairs and paper fibres when papers have been left in pockets. Removing it gives access to the outlet from the drum. Sometimes plastic things appear at this outlet and have to be fished out with a piece of bent wire. The filter has to be removed and rinsed under running water and scrubbed with an old toothbrush. This piece of plastic never goes mouldy.
Soap Drawer
This goes mouldy and the syphon in the softener compartment blocks up. The softener compartment has a cover which exposes the syphon tube when removed. I rinse it under the tap and use a toothbrush to remove any claggy muck and poke a screwdriver down the tube if it appears blocked.
If it is mouldy I put it in the sink and spray it with HG Mould Spray available from hardware stores. I swear by this product, and I swear when I get it on my clothes because it is an extremely powerful bleach. So be warned. This stuff will turn the black mould white in 5 to 15 minutes. Be sure to rinse it all off afterwards.
Sometimes I have to present the soap drawer at various attitudes while I spray it because it has all sorts of shaped spaces in it and which get mouldy. Today there was no mould (surprising) so I can’t show it to you. I just had a little softener to remove.
Soap Drawer Compartment
This can get very mouldy. This is where the water comes in at the top through many holes and the drips remain over the holes for a long time after use. This encourages the mould to form.
Today you can see it is very clean. If it’s mouldy I rub the top of the compartment with kitchen roll to remove the water drips and loose mould and I try to reach to the back of it too. This really needs small hands. I then spray inside it with HG Mould Spray and watch it go clean. Any that remains I spray again. Unfortunately this bleach ends up inside the machine so I have to remember to run the rinse program when I have done. When the mould has been bleached I rinse this area with a water sprayer. The sort used for spraying hair or indoor plants. All the water then runs down into the drum.
Door Seal
This can get very mouldy and requires a lot of effort to remove it. Mould gets into the rubbery grey seal and discolours it badly. Even when you remove all the muck from the surface it can look so bad you wouldn’t think you could turn it back to grey with anything.
There are drain holes in some rubber seals which fill with gunge and have to be poked out with a screwdriver. I spray the mould on the door seal with HG Mould Spray and give it plenty of time to work. Unfortunately when I’m cleaning the washing machine this bleach ends up inside it so I have to remember to run the rinse program when I have done. The problem is the bleach runs down and collects in the bottom of the grooves. Therefore the bottom gets cleaned but the sides don’t. The only solution I have is to don the marigolds and persistently move the bleach back where I want it with my finger until the job is done. When it’s been allowed to get really bad it can be a half hour job.
Gallery of Parts I Inspect For Mould When I’m Cleaning The Washing Machine
The pictures below show the various parts I have to clean with a short description below each.
Filter Knob

Above – This is the knob that has to be unscrewed (anti-clockwise) to extract the filter.
Filter

Above – The filter is not too bad this time but I will have to clean it.
Soap Drawer

Above – The Soap Drawer Compartment is very clean. I think someone got to it before me. I won’t have to clean it today but sometimes it is a mouldy washing machine part.
All Mouldy Washing Machine Parts Cleaned

Above – All the parts have been cleaned and can be reunited with the machine.
The Bottom of The Seal Is A Bit Mouldy And Holding Dirty Water

Above – This dirty water just needs soaking up with a paper towel.
The Bottom of The Seal Has No Significant Mould When Dried

Above – There are just a few specs of mould to the left of my fingers. I’ll just keep my eye on them this time.
The Left Side of The Seal Is Clean

Above – No attention required this time.
The Right Side of The Seal Is Clean

Above – No attention required this time. You wouldn’t believe how mouldy this seal got last year. I really worked hard to clean it and I can’t believe how clean it still is.


Leave a Reply