Introduction
I recently had a ground floor extension built which required access to the loft space in the pitched roof to provide and service pipes and cables. So I asked the builder to create an insulated loft trapdoor. I made it clear that it should not just be a sheet of MDF or plywood. It must have thermal insulation fixed to it to prevent it forming a cold spot in the ceiling. I also required it to be out of sight if possible. By that I meant he must avoid putting it in the main reception room of the extension.
By widening the gap between two ceiling joists he made an opening 485mm wide. Enough to accommodate a telescopic ladder I bought to climb into the loft.
The builder built the opening and finished it with architrave around it and clapping strips on all sides to form a lip that supports the insulated loft trapdoor. I offered to make the insulated loft trapdoor myself since it wasn’t part of the original estimate. That allowed the builder to get on with work that was part of the original estimate.
Making The Insulated Loft Trapdoor
NOTE: This is not a trapdoor capable of taking the weight of anyone standing on it. It is not intended to be closed while anyone is in the loft.
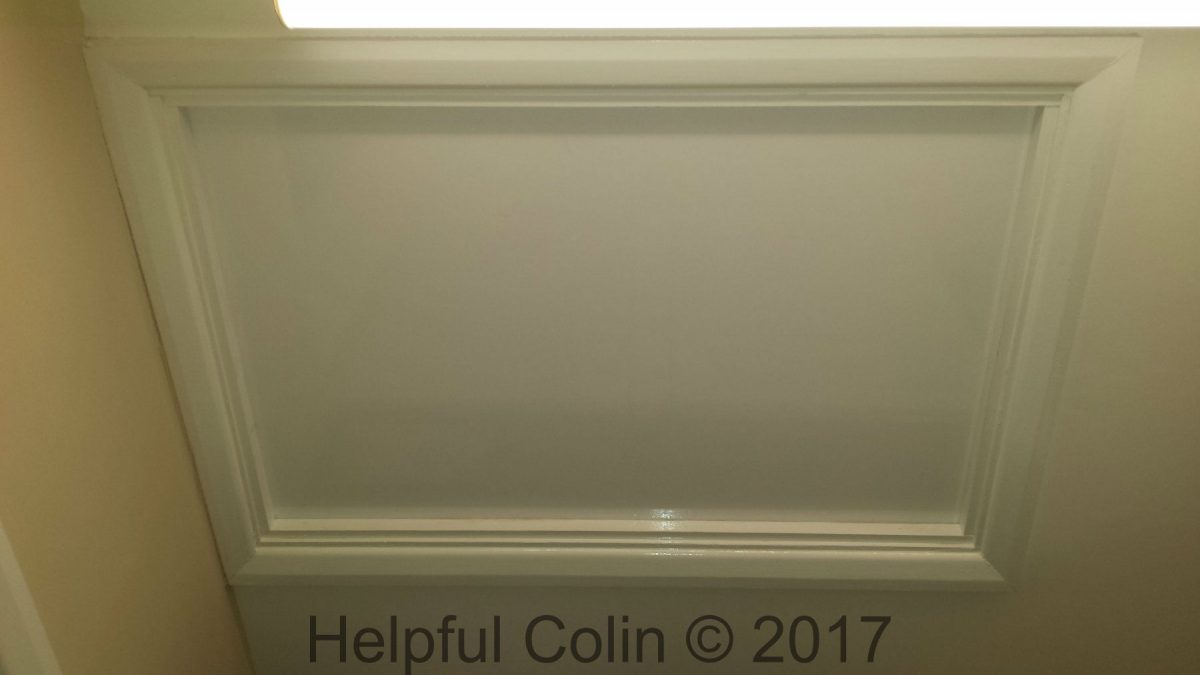
Below is the loft opening I had to close with an insulated loft trapdoor:

Making it strong but light-weight I used 9mm MDF for the trapdoor base, which sits in the opening 790mm x 510mm, and 5mm ply to build a box for holding the insulation.
NOTE: An area of 5mm ply is lighter than the same area of 9mm (or thicker) MDF.
Below is the type of insulation I used. It was left over by the builder when he insulated the floor:

I had sufficient 75mm RECTiCELTM insulation left by the builder to cover the trapdoor with a double layer 150mm thick.
It would be very simple to glue the insulation to the top side of the trapdoor, but I think it would easily get damaged from time to time when opening it and moving it around. So I contained it in a box to protect it.
I formed a box on the trapdoor with sides made of 150mm tall x 5mm thick plywood, and cut two pieces of insulation to be a tight fit within the box.
On similar projects in the past I may have fixed the plywood with screws and adhesive to a framework of 25mm x 25mm timber. In this case I chose to use hot-melt glue to bond each side to the base and to its adjacent sides. By using this method there is no framework in the way of fitting the insulation into the box.
Box Construction
Materials and Tools Required
- a hot-melt glue gun,
- hot-melt glue sticks,
- 9mm MDF,
- 5mm plywood,
- a pencil,
- a steel metric tape measure,
- a straight edge,
- an engineer’s (or similar) square.
Method and Instructions
I followed these instructions to form the trapdoor into a box for holding thermal insulation:
- Measure the hole above the clapping strips for length and width and cut the MDF to fit, leaving a 1mm gap all around.
- Draw a rectangle on the upper surface of the MDF with all sides 15mm from the nearest edge.
- Cut 2 pieces of 150mm x 5mm ply the width of the rectangle to make sides 1 & 3.
- Cut 2 pieces of 150mm x 5mm ply, the length of the rectangle + 10mm, to make sides 2 & 4.
- Take side 1 and stand it along the outside of the rectangle on a narrow side and tack it in place with hot-melt glue.
- Use an engineer’s square to set it vertical while the glue hardens.

- Take side 2 and stand it along the outside of the rectangle on a long side and tack it in place with hot-melt glue.
- Check that side 2 overlaps side 1 and glue the two pieces together at the top corner. The presence of the first side will ensure that the second side is set vertical.

- Take side 3 and stand it along the outside of the rectangle on the other short side and tack it in place with hot-melt glue.
- Check that side 2 overlaps side 3 and glue the two pieces together at the top corner. Careful alignment of sides 2 and 3 will ensure that side 3 is also vertical.
- Stand side 4 along the outside of the rectangle’s other long side and tack it in place with hot-melt glue.
- Check that side 4 overlaps side 1 and side 3 and glue the three pieces together at the top corners. The presence of sides 1 and 3 will ensure that the fourth side is set vertical. See the corner detail in this drawing. It shows how the sides butt up against each other.

- Finally run hot-melt glue along the inside of all the corners and along the outside edges of all the plywood sides where they come into contact with the upper surface of the trapdoor.
- Allowed fifteen minutes for all the glue to cool down.
Cutting The Insulation
If a crosscut saw, intended for cutting across wood grain, is used to cut this type of insulation an unnecessary amount of sawdust is generated. So I use a knife with a smooth blade.
I found the OXO Good Grips Natural Grip bread knife is very good for this because it has a handle shaped so it is held like a wood saw. My bread saw doesn’t have teeth like the one pictured below, it just has a wobbly edged knife blade. Unfortunately it seems to have gone off the market:

Note: Similar OXO bread knives are available but with a straight handle like most knives have.
The Completed Insulated Loft Trapdoor
Below is the completed insulated loft trapdoor with two identically cut pieces of insulation pressed into the trapdoor box one on top of the other:

The glue that was applied with a hot glue gun can clearly be seen around the edge bonding the sides firmly to the base.
Below: The insulated loft trapdoor is seen turned upside down and painted with a gloss topcoat.

Lifting The Insulated Loft Trapdoor Into Place
The trapdoor is put in place by climbing on short steps placed below the opening. Then the narrow edge is fed through at an angle to avoid the roof above. Eventually it’s laid horizontally above the opening so it rests on the loft insulation at the side. It is then drawn across the opening by balancing it on the outstretched fingertips of both hands. Then it’s turned to true it up with the opening and lowered into position.
I had to trim one corner of the trapdoor with sandpaper to get it to fit. Then I marked an ‘A’ on the plywood and the loft timbers to show which way round it must be presented.
Leave a Reply